Trending
Opinion: How will Project 2025 impact game developers?
The Heritage Foundation's manifesto for the possible next administration could do great harm to many, including large portions of the game development community.

Featured Blog | This community-written post highlights the best of what the game industry has to offer. Read more like it on the Game Developer Blogs or learn how to Submit Your Own Blog Post
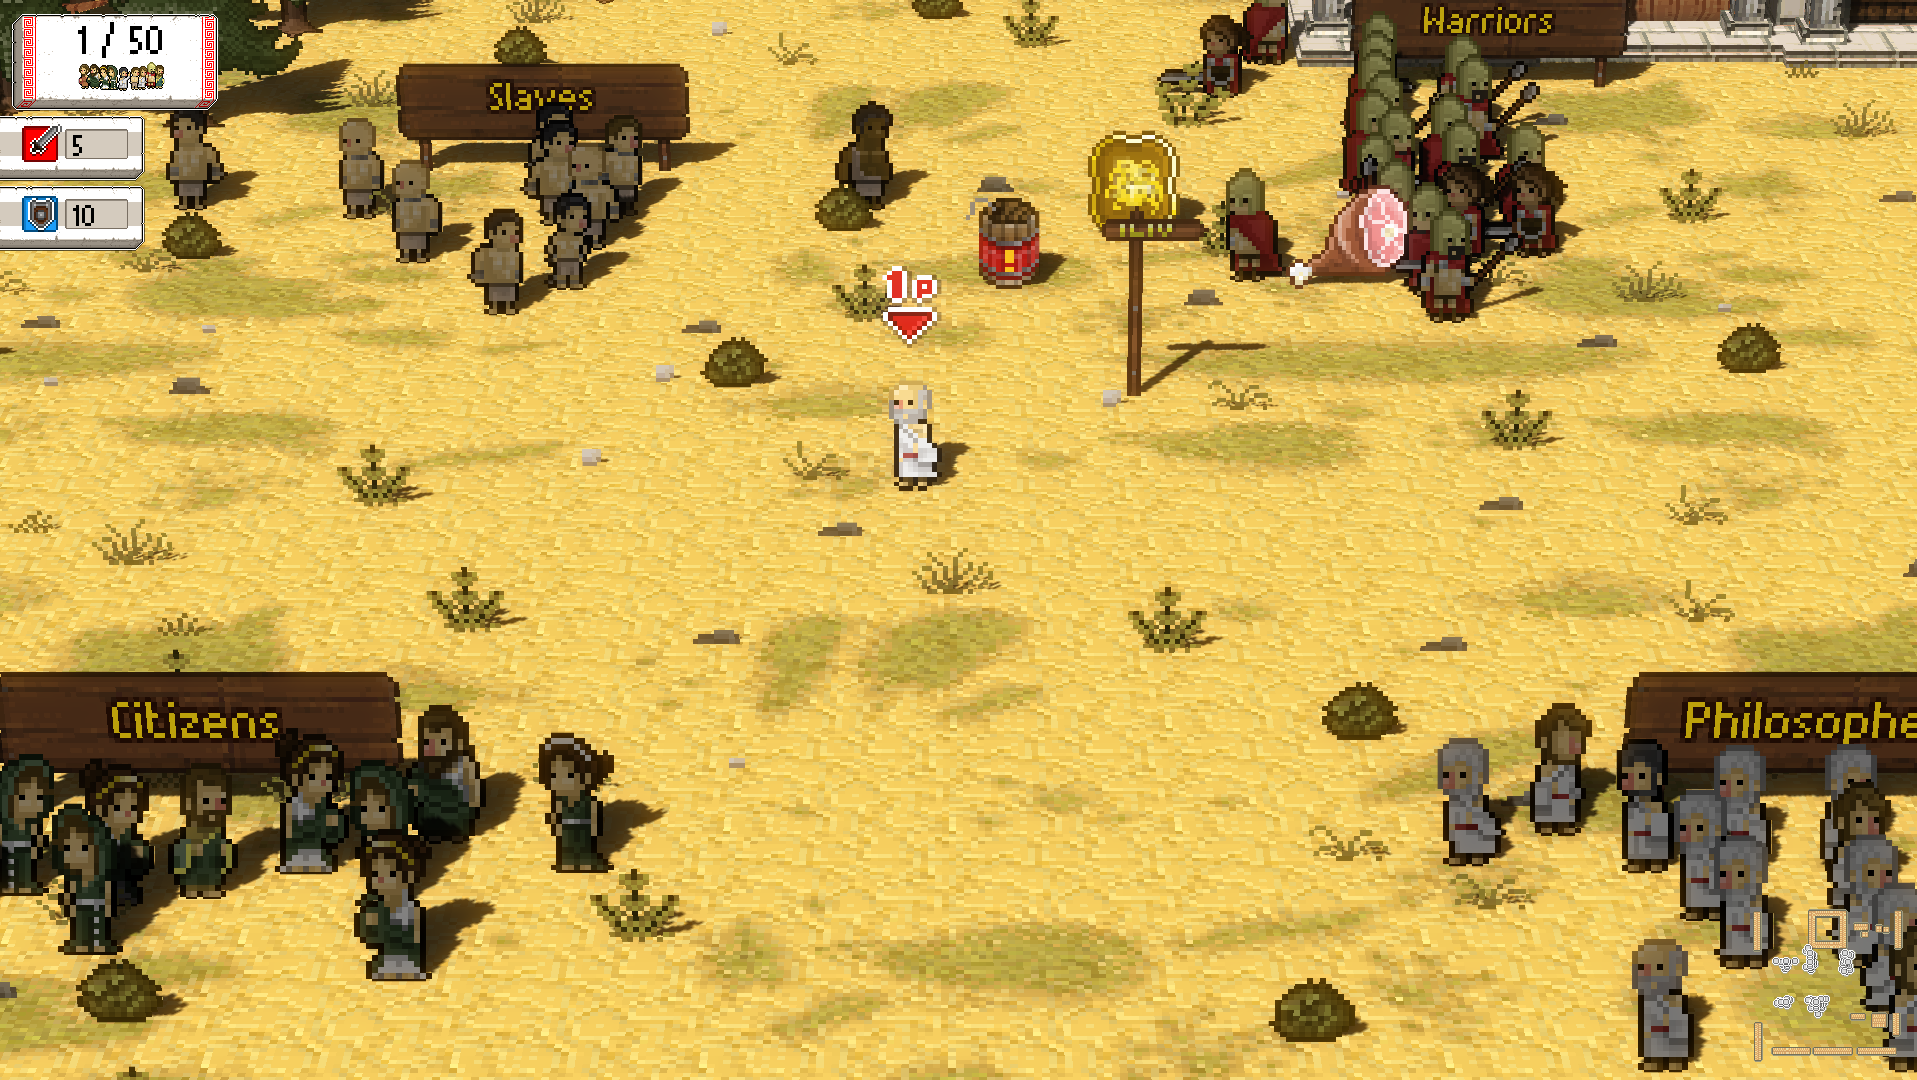
In this blog post, we talk about Unity3D + 2dToolkit integration with Sketchfab, and how to do Pixel Perfect dioramas to show off your sprites in a 3D setting.

Hey there! We are gonna talk about our interactive dioramas for OKHLOS, show how the 3D meshes mix with pixel art. Particularly we are going to talk about how we made them.
It all started at the time we were about to launch our Greenlight campaign. We wanted to do something cool, and show little bit more of the game, but we knew that demos hurt sales, so we our first approach was to do some sort of teaser, something were you could feel how the 3D / 2D worked together, without showing too much gameplay. Not long we ended up with a few prototypes.
We iterated a bit more on these, but we always landed in similar places. We had quite a lot of mechanics to learn and not that much chance to include a tutorial in a pickup-and-play single-level teaser. Also, at that time, we ran into a new problem: Chrome dropped support of Unity’s web plug-in. The teaser had always been aimed to be played in a browser, so this was definitely a setback.
So, the clock was ticking and we wanted to do at least something before launching our Greenlight campaign. That’s when we had the idea of using Sketchfab.
We really wanted to show how pixel art and 3D worked together, and there were few options to achieve this (making an .exe was almost out of the question. Nobody downloads tech demos).
Sketchfab, unlike Unity, runs with HTML5 (I think), so we had no browser compatibility problems. Also, you don’t need to install any plugins to view a Sketchfab model in your browser, it’s pretty straightforward. Finally, Sketchfab has Unity support, which was also a plus for us, since we could use everything we already had set up in Unity to build these scenes faster (as opposed to building them from scratch in 3DSMax).
In order to do be able to upload a model to Sketchfab from Unity you first have to download the lastest unity package from the Asset Store.
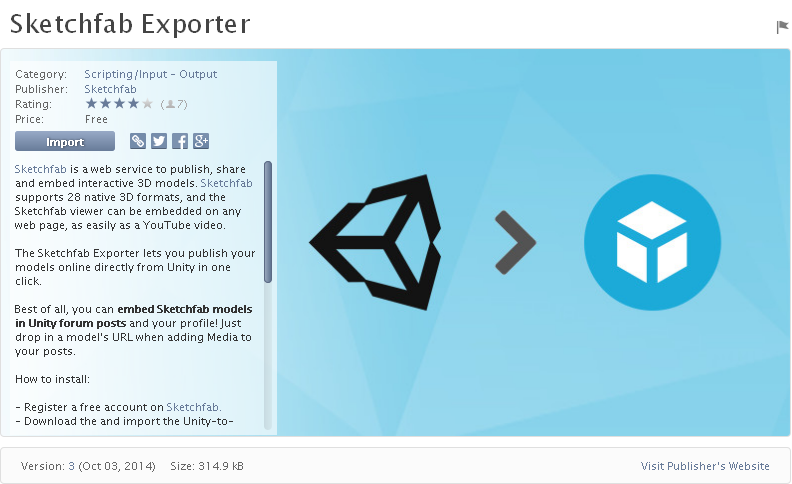
We installed the package in Okhlos’ main Unity project. We had a few compatibility problems with some things, but for the most part deactivating things did the trick. The main problem we had, was that we couldn’t make a windows standalone build if we had the package content in the directory. This was particularly annoying, but deleting the Sketchfab folder is literally one key down (and a left arrow key, and an enter). So it’s not so bad.
Once we installed the Sketchfab exporter we found out that, even though some things were cool, others were very annoying:
You CAN’T see how the model looks in Sketchfab until it is online.
Automatically, every model is made public for any user to browse. As an artist, I hate this.
There are lots of little problems with some textures and geometries.
If a shader you are using is not supported, your model will look like a Kandinsky.
The plugin is pretty basic, and there is almost no support on the web about using Unity + Sketchfab.
You have to set an awful amount of things in the Sketchfab web editor because the Unity Settings are not imported (billinear/point, alpha channel, etc).
Clearly, this tool is not designed specifically to export any unity object, and we are stretching what you can do with the platform, so is not like all of this is particularly Sketchfab’s fault.
So, how do we start?
Starting is easy. You only have to put the pieces together. I suggest creating a prefab, so as not to lose information (Unity is notorious for not being that trustworthy with the scene information). Once you have the prefab, you have to select it in order to export it (alla “Export Selected” in max), but it will only export things in the scene, not in the project folder.
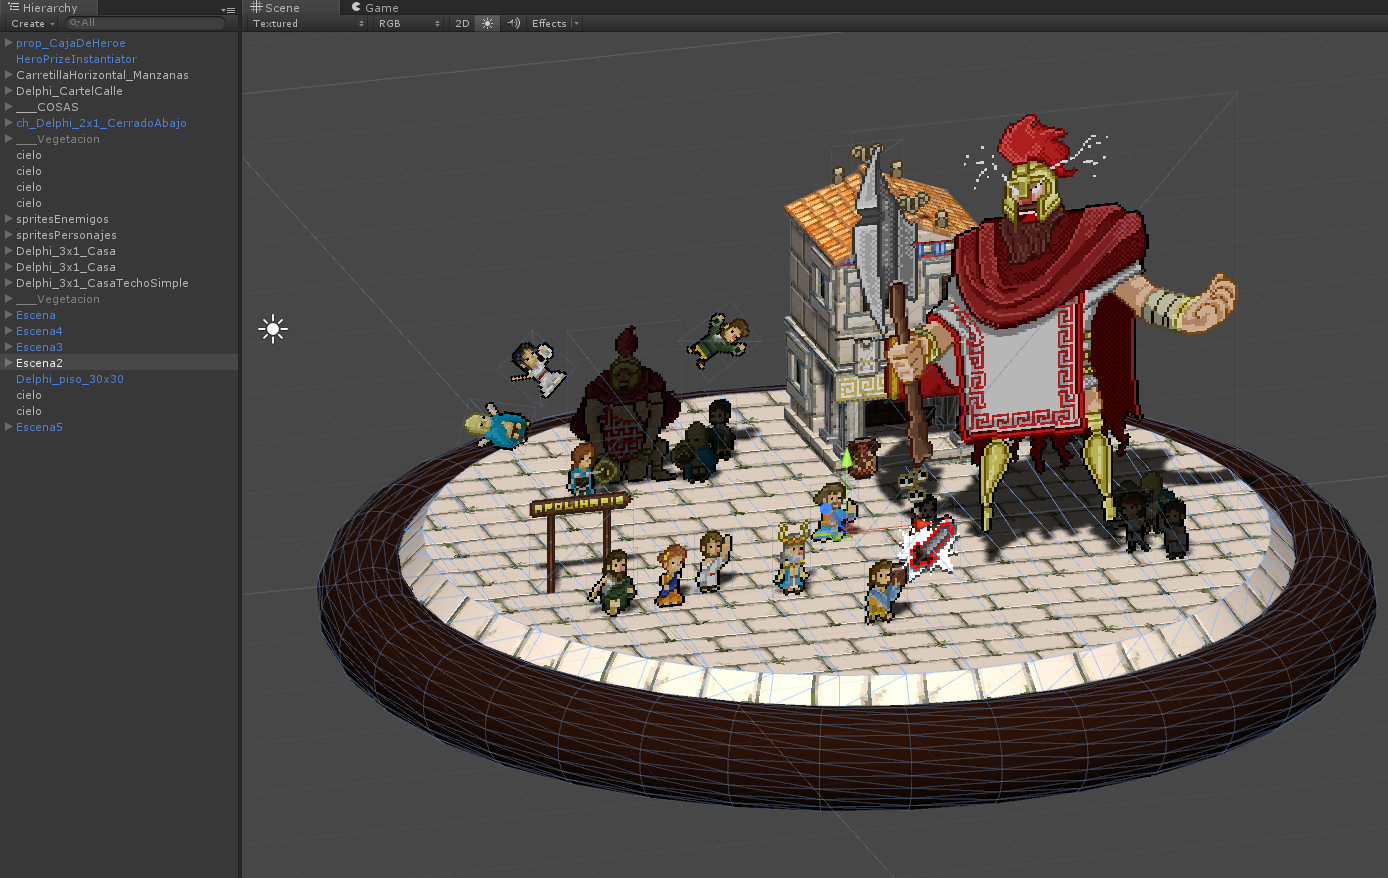
I really don’t know the amount of polys Sketchfab supports, and because all our buildings are low poly, we didn’t have any problems with the poly count.
Another thing I recommend, is giving the model some context. In our case, because of the Diorama approach, we put a plinth to push the idea a little bit further. Basically you don’t have to do anything like this, you only have to do something pretty, and preferably not very big, the navigation in the Sketchfab viewer is not fantastic. It is not impossible, but I can’t imagine using the tool as a level navigator (but of course you can do something like that!).
Now that you selected the object, you have to export it with the Sketchfab window. There are not many options here.
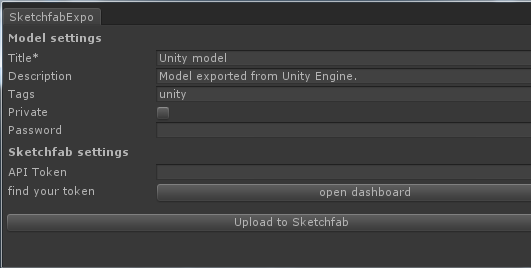
Once uploaded, it will appear in your user models.
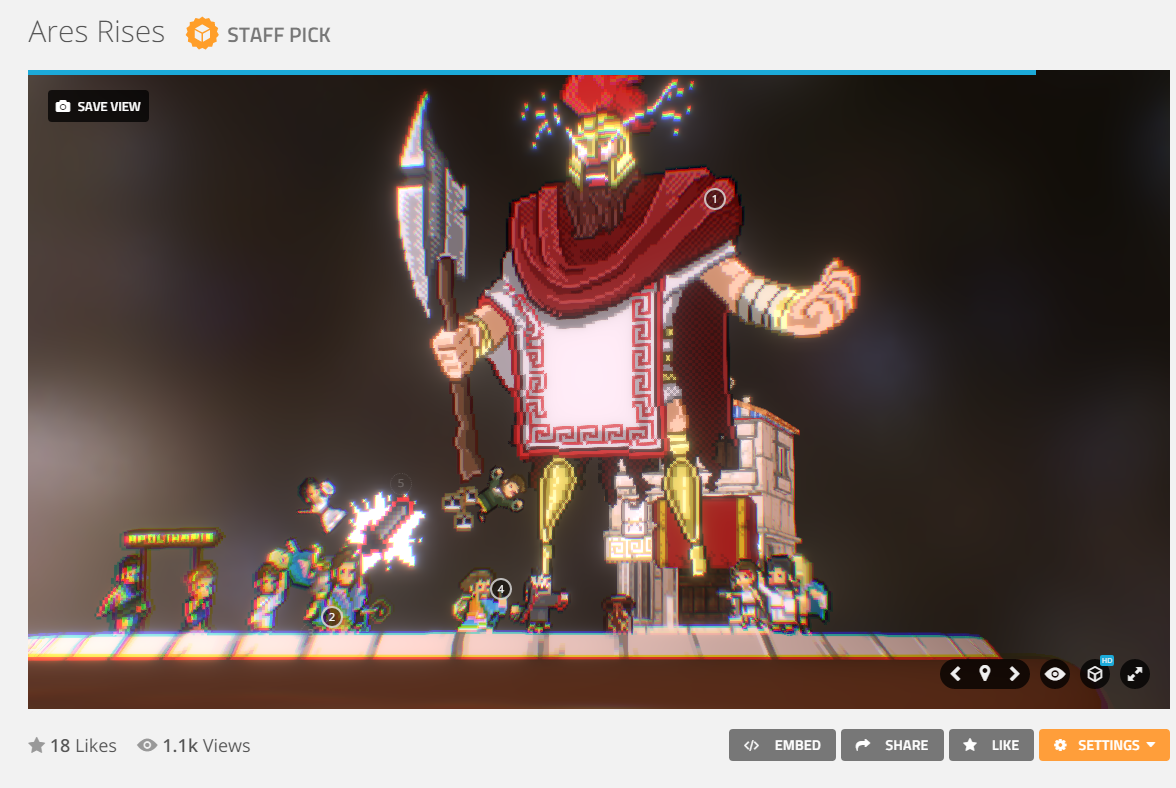
Then, you can edit a few things regarding the materials, annotations, camera, and post effects. All of these are easily tweakeable.
I would’ve loved if this was all you needed to know, but because we use 2D toolkit for the sprites, the process is quite more complex.
Exporting geometry is easy. Technically, the sprites in 2D toolkit are simple geometry as well (planes), but we had to do A LOT of experimentation to get it right.
First of all, as I said before, if Sketchfab doesn’t like your shader, it can turn your model into garbage.
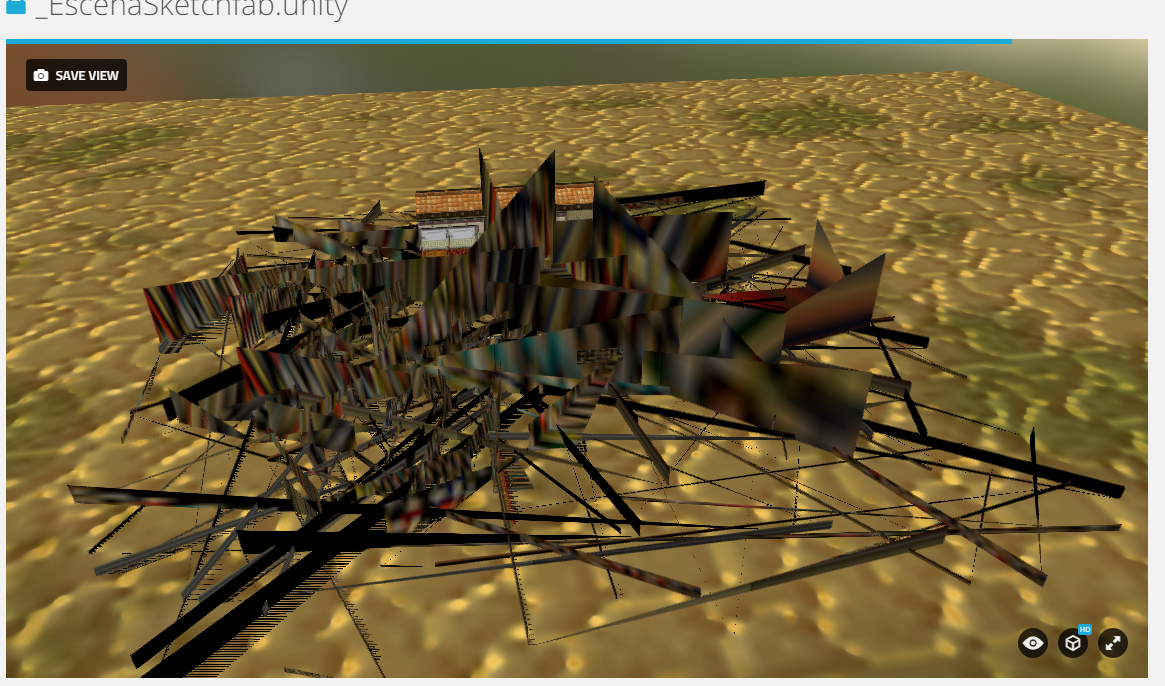
Oh god! Kill him! Kill him!
You have to use (while you export at least) a basic shader. Also, keep in mind that every time you create an atlas in 2dtk, it will create a texture and a material (usually called Atlas0, because of reasons). So, if you have multiple atlases, all with different names, but you kept the default name for the materials and textures(Atlas0), Sketchfab will think that they are all the same material, and you will not be able to change them. A workaround for this is naming each material and texture differently. Don’t worry, this brings no trouble at all to the project, you will still be able to update your atlas and it will keep the new names.
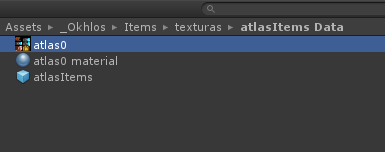
You should rename all of these.
Once you do this, you will be able to use multiple atlases for the model, using the same atlases that you are currently using in the project. You’ll need to set the alpha channel of each texture, which is a pain. Also, because of the pixel art nature, you’ll have to set all the textures into Nearest (Point in Unity) (they are usually in Billinear in both). This means that it will do no interpolation in the image, and will show every pixel as is.
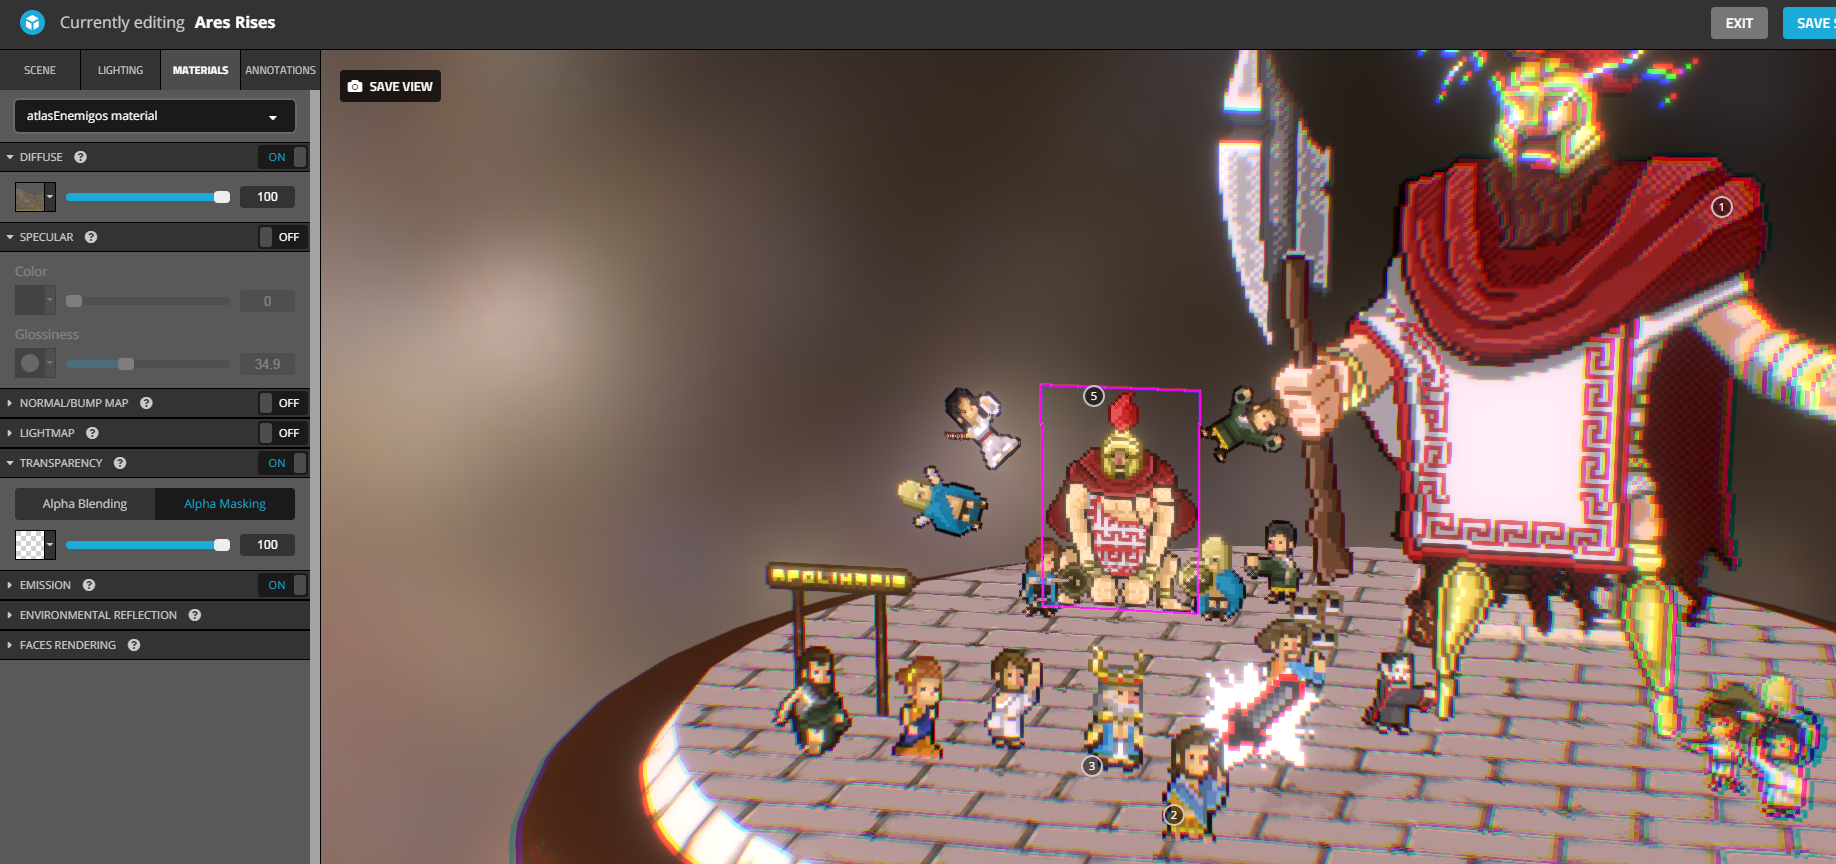
Take a look at the transparency configuration. Also, you should switch it to Point (Nearest)
These are mostly the considerations you have to know using 2DToolkit in Sketchfab. However, if you take a close look at the sprites, you’ll notice some imperfections. We couldn’t find a way to fix this, but because they only show in a few sprites we decided to live with them.
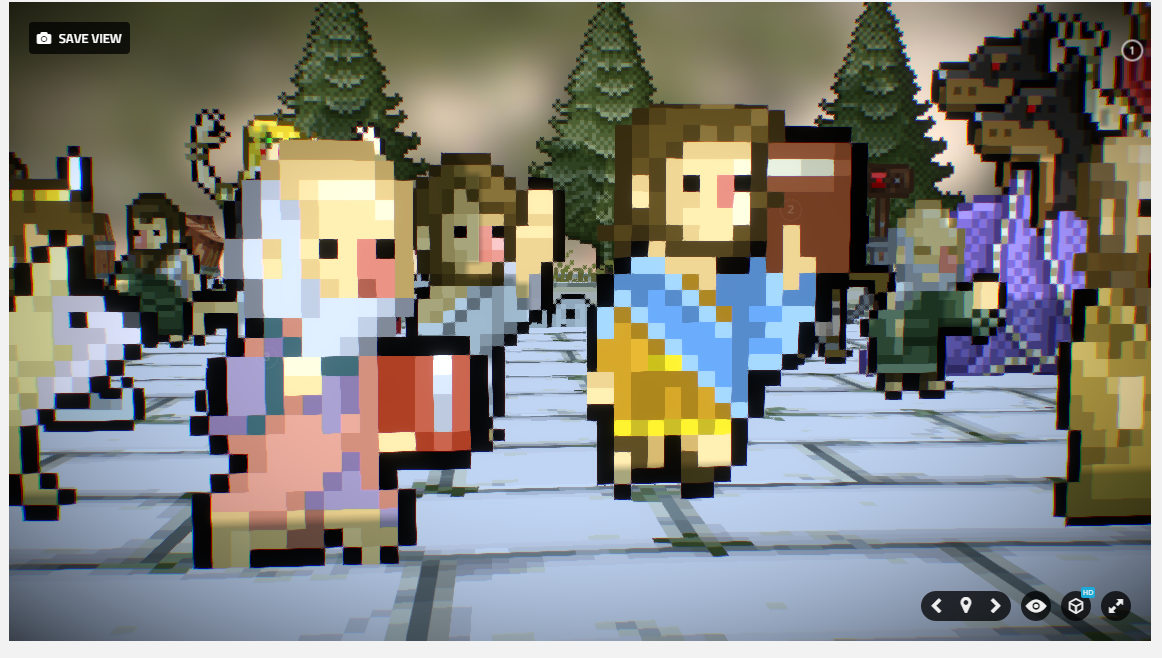
Here, Aristotle had a harsh hair cut. And Plato lost his feet.
So there you have it! You can play with the model settings for cool post effects, lights, etc.
Hope you found this info useful!
A little disclaimer, I’m not affiliated to Sketchfab in any way (or to Unity, but that’s more obvious). I just liked the tool, and we had a few questions regarding how we made the dioramas.
Read more about:
Featured BlogsYou May Also Like