Trending
Opinion: How will Project 2025 impact game developers?
The Heritage Foundation's manifesto for the possible next administration could do great harm to many, including large portions of the game development community.
Manipulating the first pass.

Manipulating the first pass:
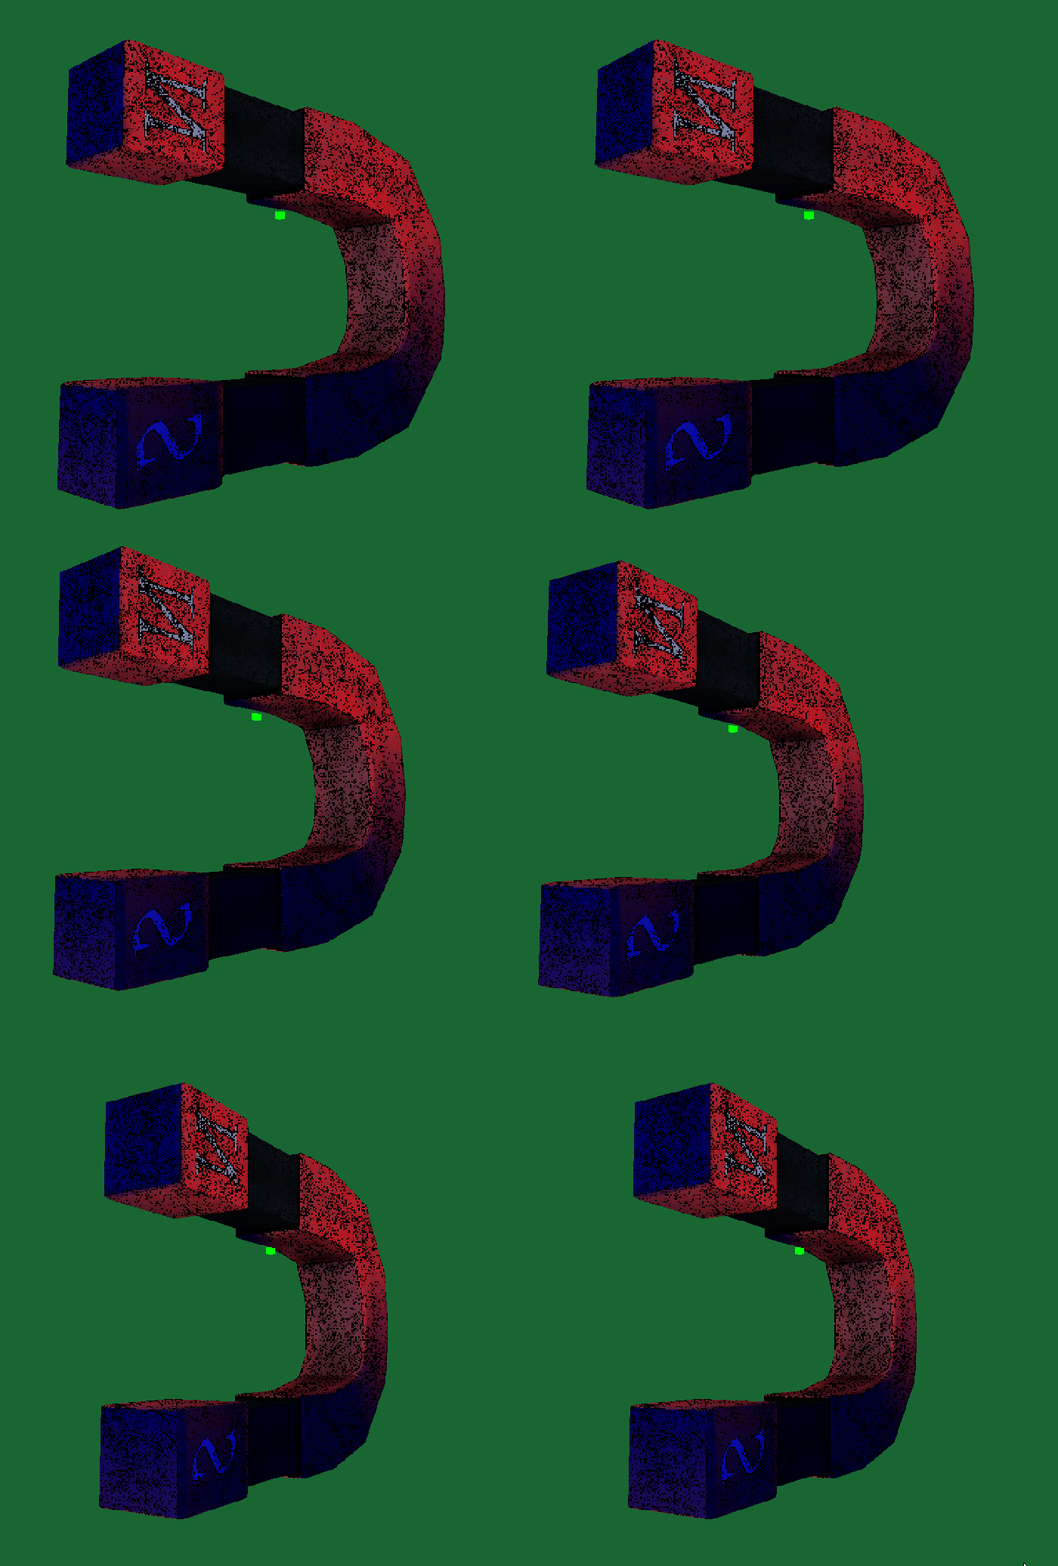
Moving off of the cut and dry tutorial style where there was an obvious right way of doing things was quite hard. Both Gooch Shading and Cell Shading require edge detection. The first implementation I tried occurred during the first drawing of the geometry. It took the position of the current point then took the the colors of the adjacent pixels from the texture and checked whether or not the change in color was enough to warrant an edge. It did not work well for me. As you can see to the right there are dots all over the magnet. There are a bit more black dots on the edges and during color changes, but I didn’t want as much noise as was showing up.
Creating a framebuffer:
The other, and more complicated, method of creating and edge detection shader involved the use of a framebuffer object. The idea of the framebuffer is that instead of drawing the different geometry you have created directly to the OpenGL window, you are drawing it to a texture stored in the framebuffer. You can then manipulate that texture in what is called the second pass as it is applied to a quad located in front of the screen. On a side note I got pretty sick during the first week for this section so this whole idea of drawing everything then taking it and redrawing it onto a quad was really confusing.
The idea I took for the application of edge detection was the Sobel Edge Detection. It was by far the most recommended method for edge detection. You can see the method here, Sobel operator - Wikipedia. The main idea behind the method is that you are comparing the horizontal and vertical changes. Then depending on the intensity of that change you are changing the color.
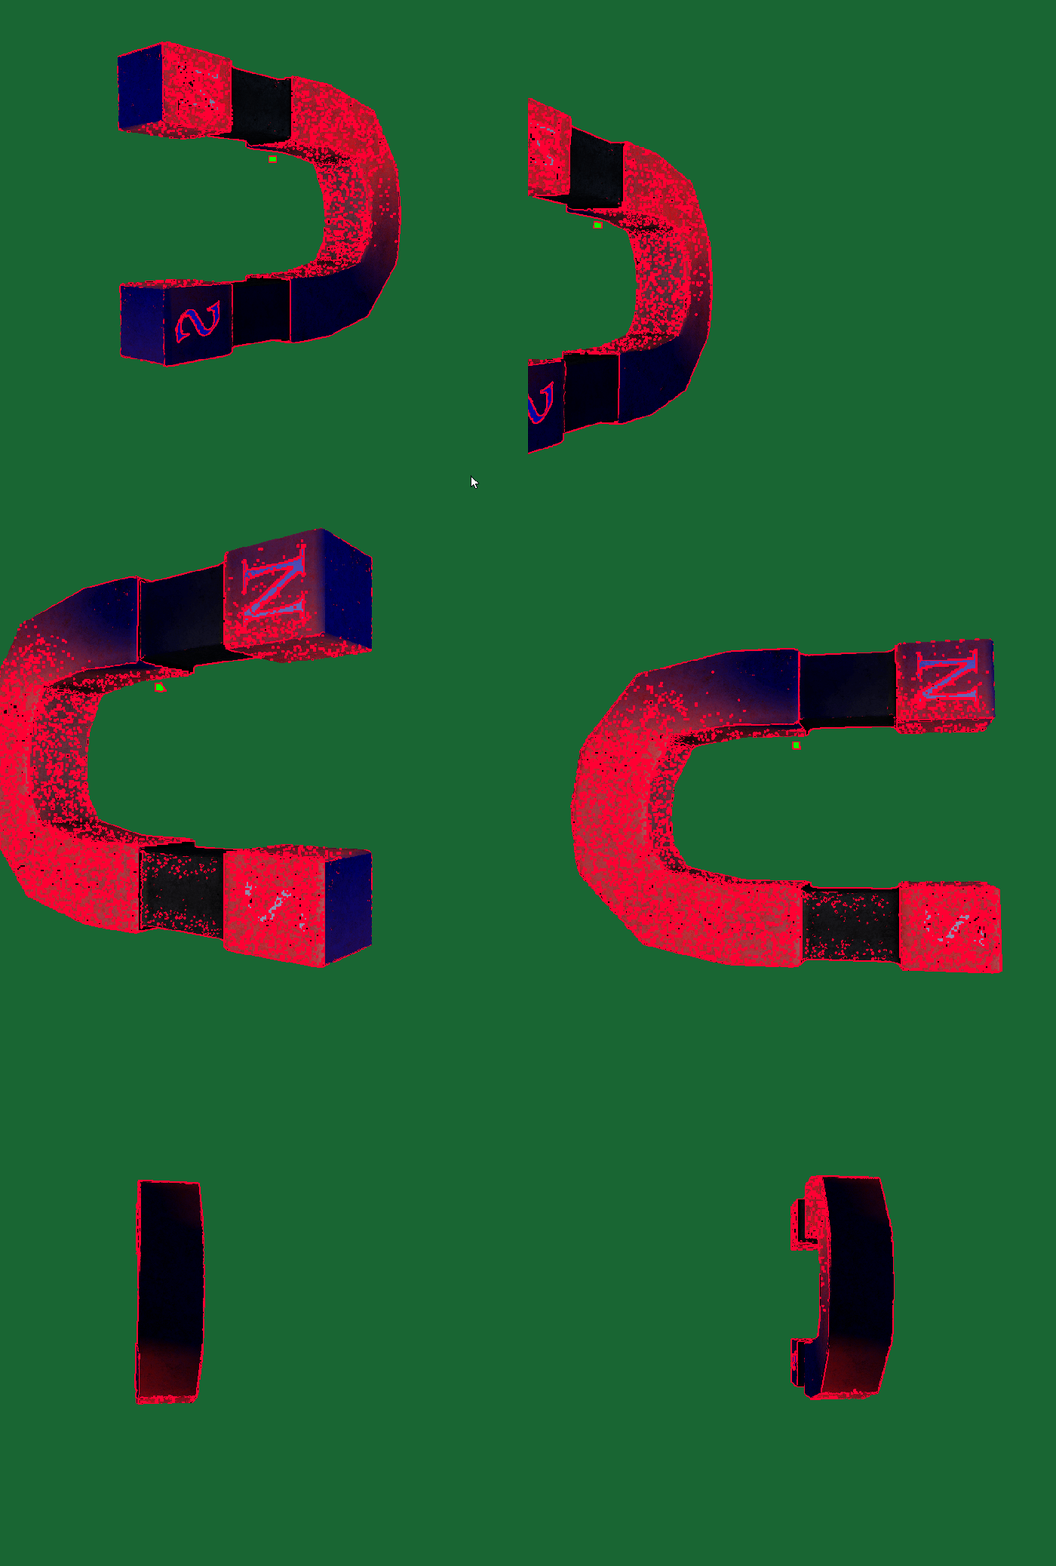
This was my first implementation of Sobel Edge Detection. I had forgotten to remove the first pass changes I had made with the original shader seen above, so you can see the red outlines created because of those edges.
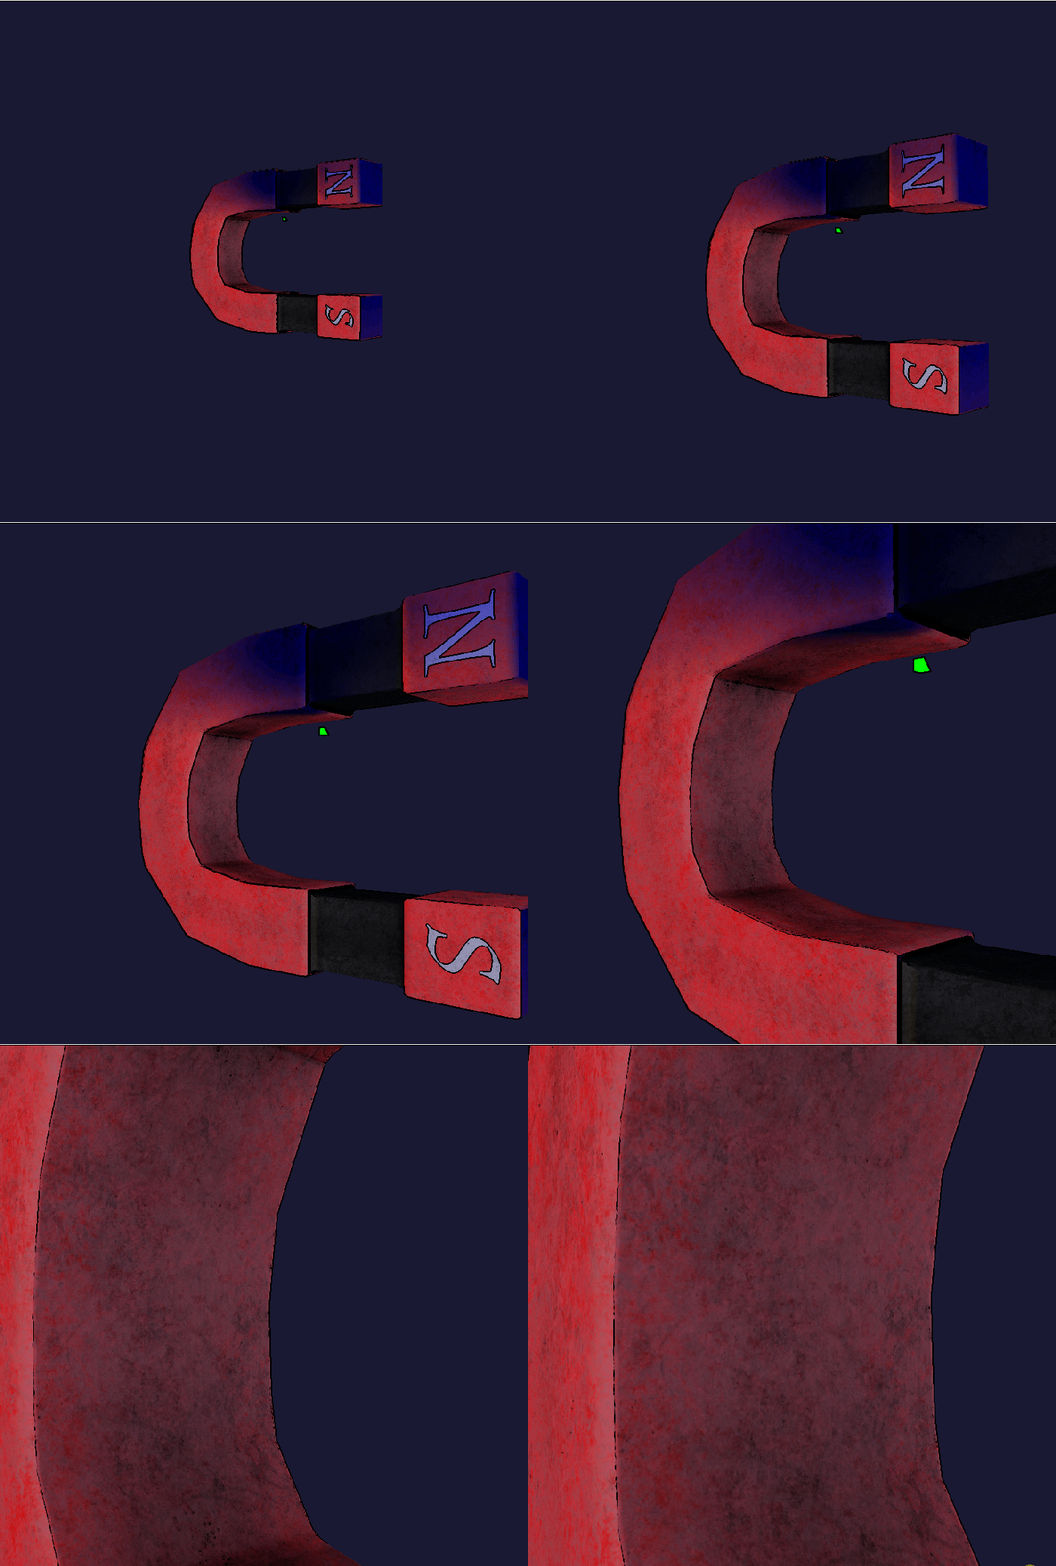
For the second attempt I removed the first pass edge detection and left only the gooch coloring. It looked ok, but at the edges when you zoomed in right next to the magnet the edge weight reduced drastically.
I also wanted to create a shader that looked a bit like cell shading, but what I settled on was a sort of toon shading. I took the intensity of the light and depending on what threshold it fell into I changed the shade of the color I was using.
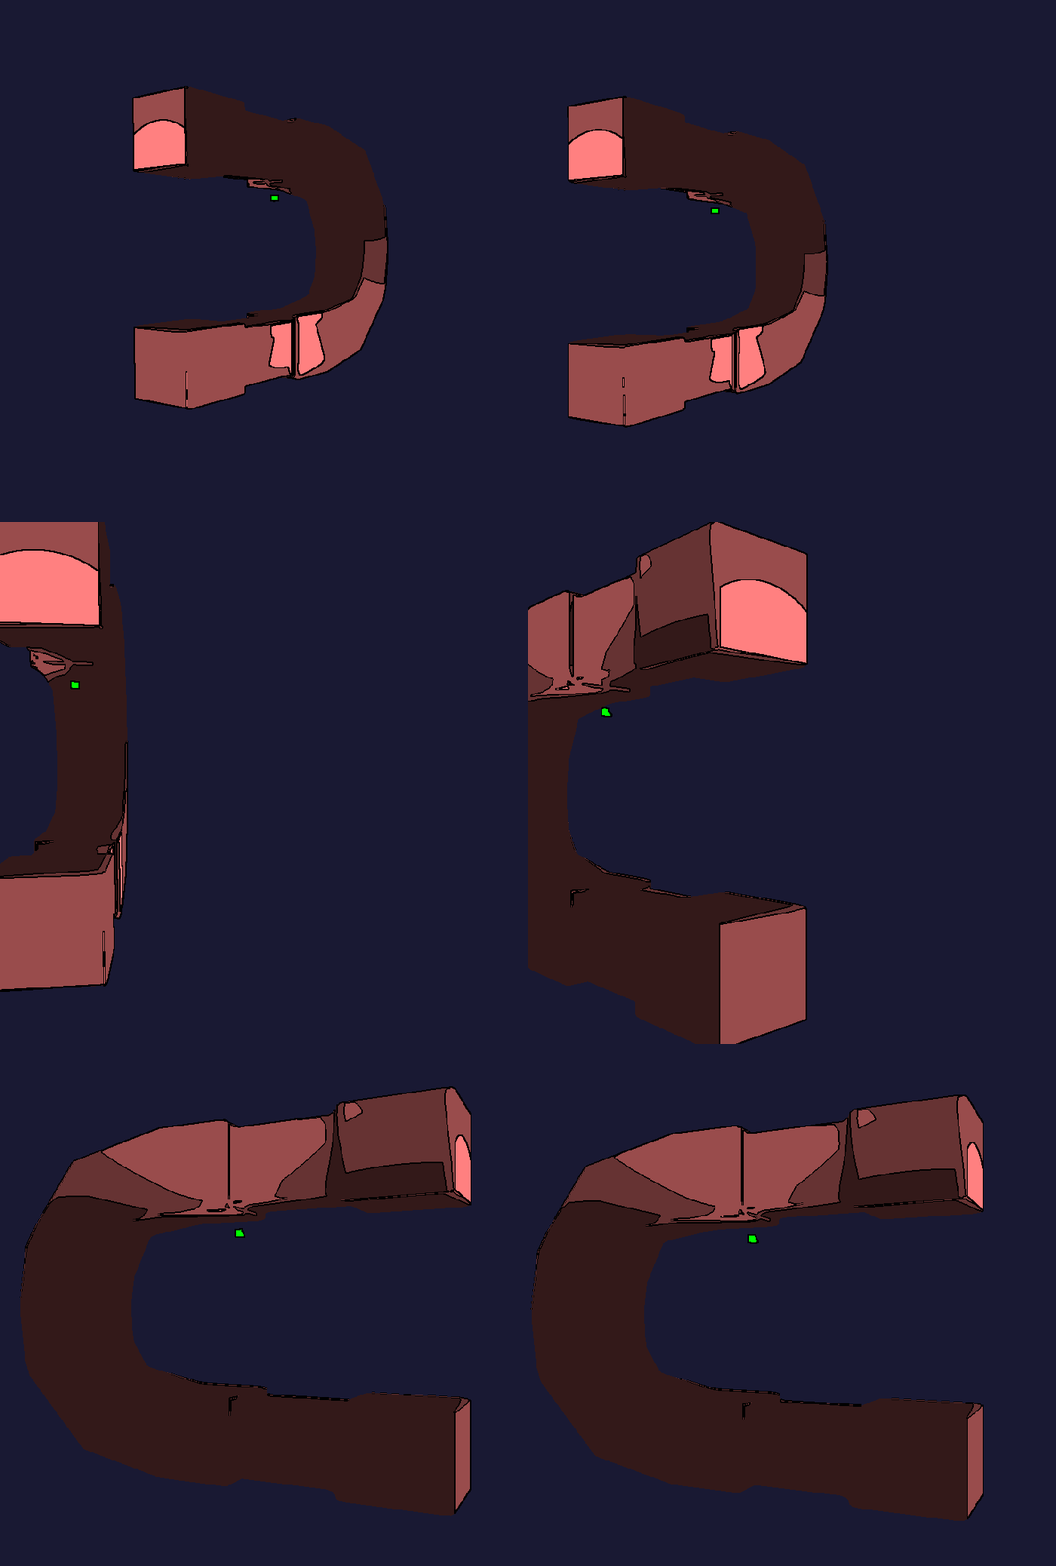
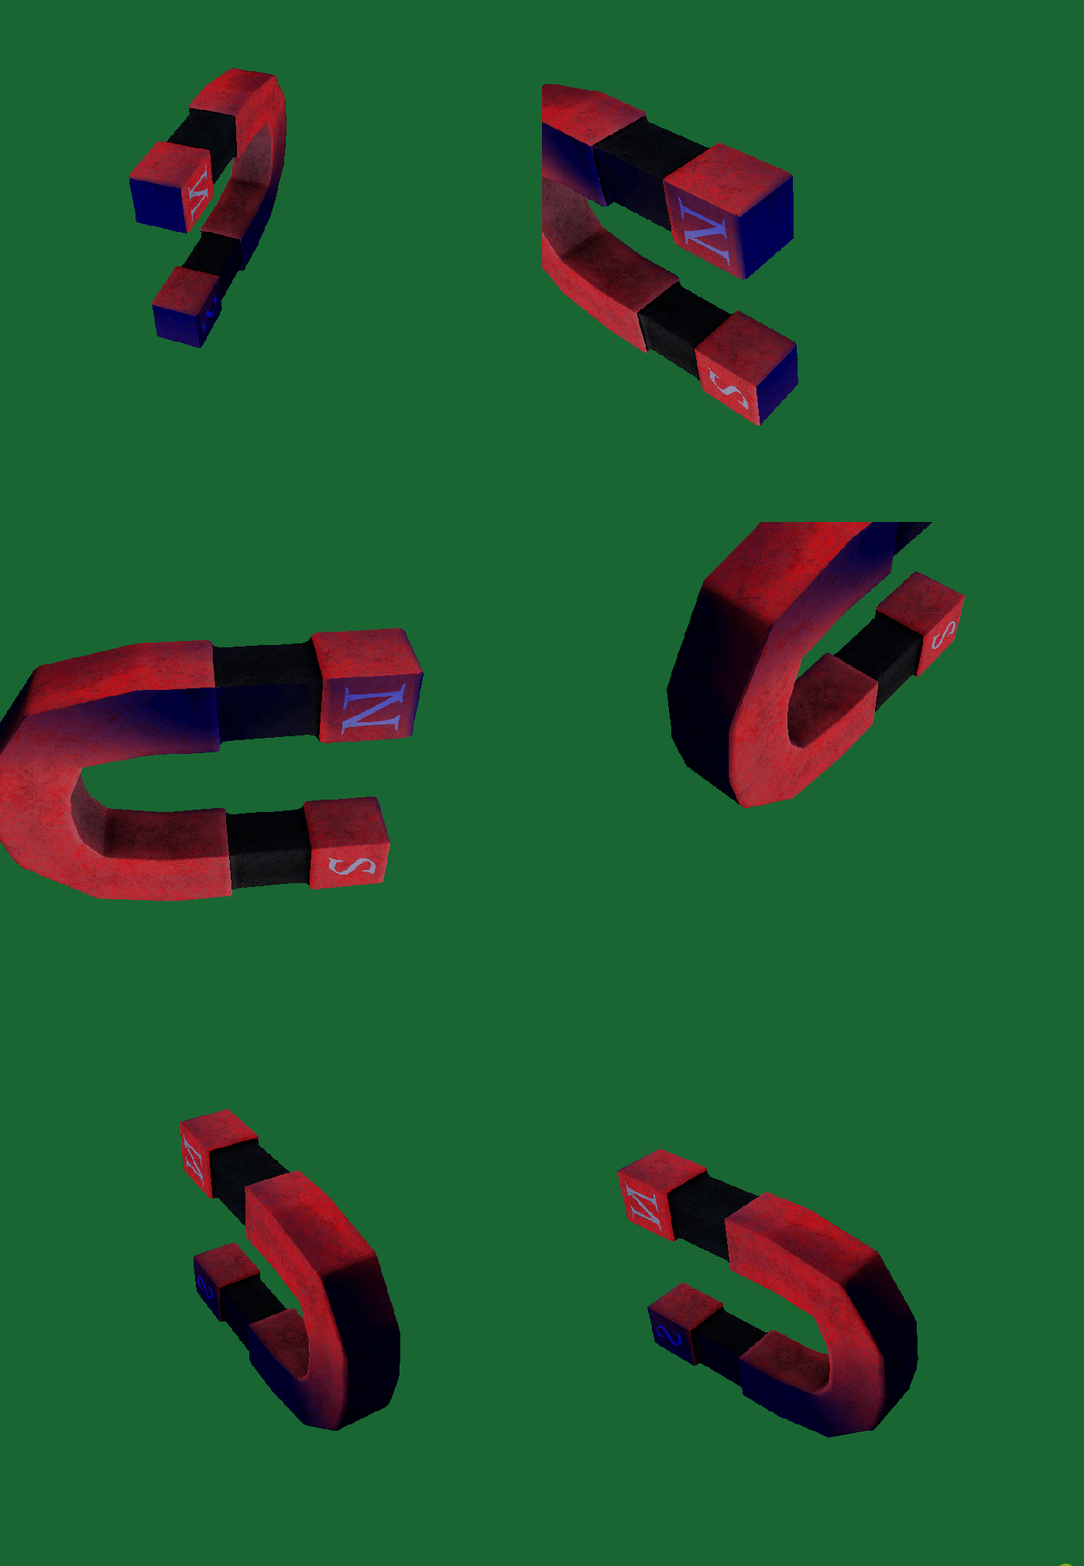
The magnets before this I was showing were the gooch shading which was not done as well as a lot of the examples I had seen; but the main idea is that instead of moving between darkness and light depending on light intensity you are moving between two different colors. In my case I was moving between blue and red, with red being the color that appeared towards the area hit by more light.
Read more about:
BlogsYou May Also Like