Trending
Opinion: How will Project 2025 impact game developers?
The Heritage Foundation's manifesto for the possible next administration could do great harm to many, including large portions of the game development community.

Featured Blog | This community-written post highlights the best of what the game industry has to offer. Read more like it on the Game Developer Blogs or learn how to Submit Your Own Blog Post
Part of an ongoing series in best practices for handling pixel art games in Unity. This time I share some hard-won wisdom (and code) for working with the camera component.

In Part 1 of this series I talked about how to change Unity’s basic import settings to accommodate pixel art. Part 2 went over Unity’s workflow for setting up 2D sprites, and provided an alternative (much quicker) way to define and play sprite animations in script. Part 3 will cover another surprisingly complicated piece of the puzzle of getting Unity to play nice with pixel art: the camera.
Part 3: A Deep Dive into 2D Cameras
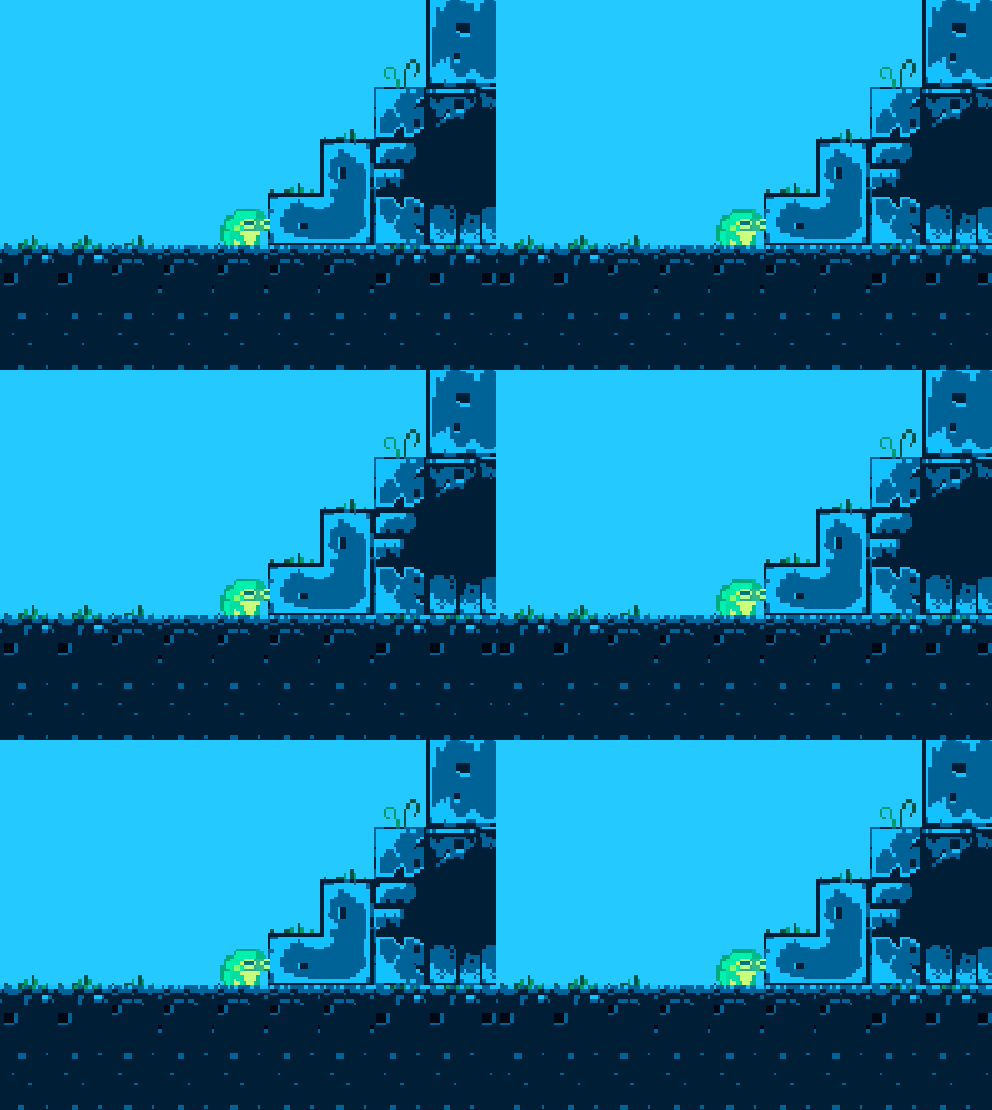
Chances are, if you first worked on a pixel art game in Unity you ended up with some problems.

I wish this gif was just a manufactured exaggeration. It’s not.
Unity, being a 3D-first engine, presupposes that you are making a 3D game, or at best a 2D game with a 3D camera. Which is why for retro pixel-art games, you need to manually set the Projection of the camera to “Orthographic” (more on orthographic projection here). Now all elements of the z-axis will be drawn “flat”, as if they are all at the same depth.
Whether or not you’re making a tile-based game (classic Nintendo game worlds were made out of “tiles”, more on that here), this is a good time to decide the Pixels to Units ratio. However if you are making a tile-based game, then you want the tile size and Pixels to Units ratio to be one and the same. (Actually, if you’ve been following along in this series, you should have already decided that when importing the pixel art). The pixel-size of our tiles is a number that’s going to be super important for understanding how to adjust the camera so you don’t end up with glitchy pixel weirdness (professional game dev term) like the above gif. My example world is made out of tiles of 16x16 pixels, and so is our frog character.
The first way tile-size comes into play is in setting the orthographic size. A simple formula for calculating it is cameraSizeInPixels / ( 2 * tileSize). But in order for the camera to not cause glitchy weirdness, the following rule must be strictly obeyed: the resolution of the display window and the resolution of the camera must both be divisible by the Pixels to Units ratio. What this means is that if you are trying to have a classic Super Nintendo camera size of 256x224, but want it to play on a modern 16:9 screen (let’s say 1920x1080 pixels), you are going to have glitchy pixels, even if you change the width to accommodate the 16:9 ratio. In fact, 16 just isn’t a factor of 1080. But, if you set your Unity camera size to 256x144 (perfectly divisible by 16), you will end up with a good result if you display it at 1280x720 (divisible by 256x144, and 16).
Now if you want to display at 1920x1080 using 16x16 tiles there are some clever solutions for handling this, and even some drag and drop solutions on the Unity Asset Store, so no need to abandon hope, but that’s a bit outside the scope of this article.
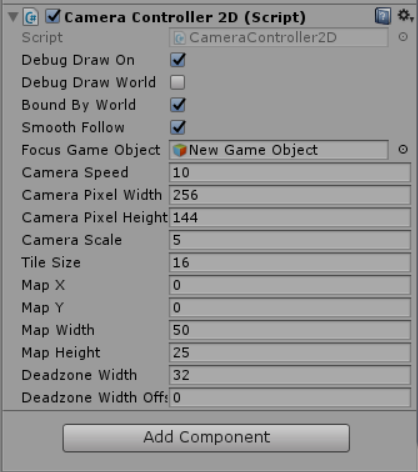
If you do plan on choosing tile-sizes that will scale naturally to hi-res displays, you might find RetroPixelCameraController useful. I’ve gone ahead and uploaded it on Github. Just drag and drop it onto the same Game Object with your Camera, and fill in the rest of the parameters.

It’ll calculate things like the orthographic size, and change a lot of the camera settings for you. You just need to drag the Focus Game Object (usually whatever game object the player character is attached to). Additionally, like in the previous example if you have a camera of 256x144 dimensions, but want to output to a display resolution of 1280x720, you would set Camera Scale as 5.
Speaking of the display resolution, here’s one of those Unity “gotchyas”: it’s important to note that the display window in the Unity game editor window is not the display window size when you properly build and run the game. While this script will set the build display resolution correctly, it won’t change the game preview window aspect. In other words, you’ll have to manually set the aspect when testing the game in the Unity editor itself, which is easy enough. I recommend just setting it to your camera dimension for testing.
Bonus Round: Camera Deadzones
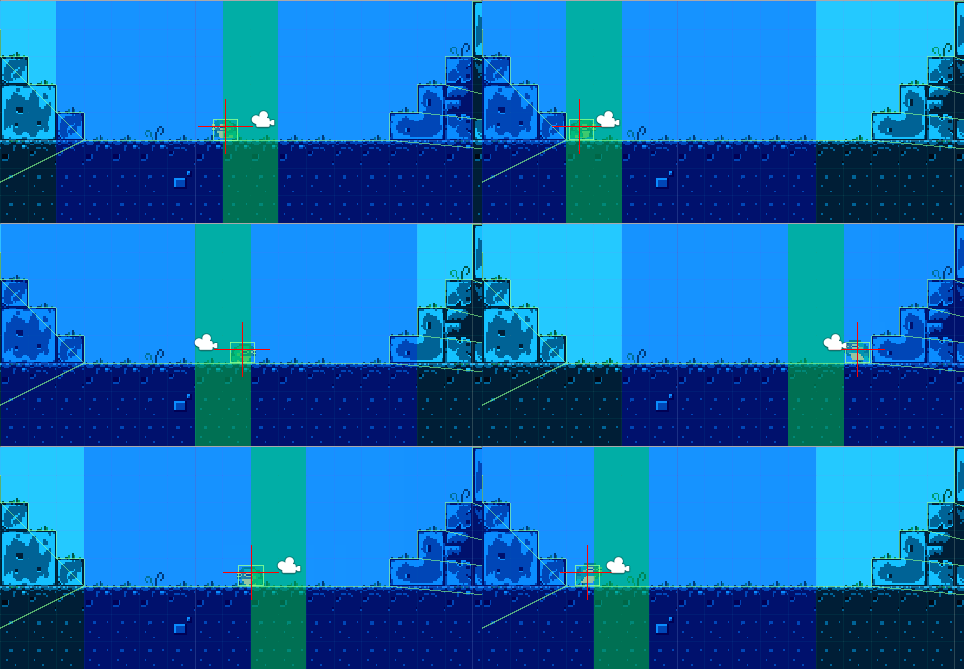
One of the cool things about this script is it let’s you define a “deadzone” in which, while moving the camera’s focus object inside of it, the camera will not choose a new focus destination. If you go into Scene view (and make sure the Debug Draw On boolean is checked), you should see something like this:

You’ll see the red cross-hairs (the camera’s focus destination) flip sides when the focus object (the frog) reaches the other side of the deadzone (the green area). Oh, and the blue area represents the camera’s size.
One other things the script handles is smooth motion. Combines with the horizontal deadzone, the lack of one-to-one motion should make things feel a bit nicer. Feel free to play around with the deadzone parameters in real-time until you arrive at something you like. One last tip: the camera speed should be at least as fast as the player character, if you want the camera to keep up with the player’s movement and not lag behind (unless that’s your intention). But too fast of a camera speed and it will sharply jump across the deadzone when the focus object switches sides. With some tweaks you should end up with something you’re happy with it.

One last thing: you can just as easily add this component in script. Simply use the SetCamera method after you use AddComponent and you should be honky-dory.

And that about wraps this up. Thanks for reading, and feel free to use RetroPixelCameraController in your Unity project.
In the next episode in this series I’ll finally go over my alternate solution for Unity 2D collisions and player movement, so stay tuned!
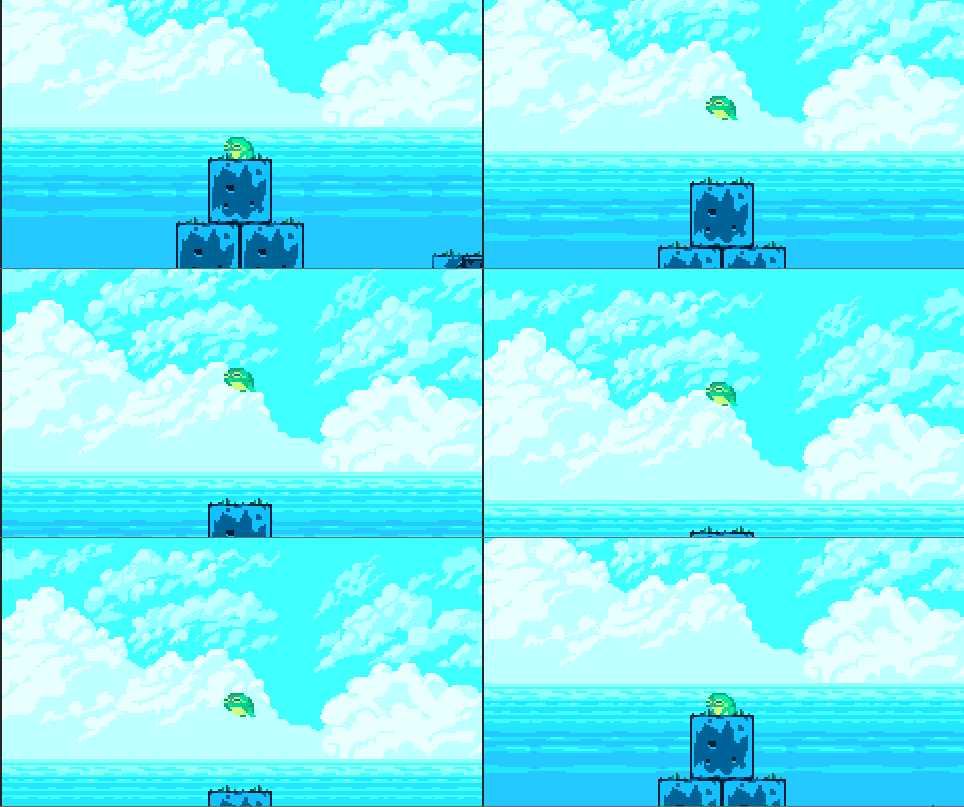
Special thanks to Luis Zuno (@ansimuz) for his adorably rad pixel art (CC-BY-3.0 License http://creativecommons.org/licenses/by/3.0/). You can find all of this art and more at http://pixelgameart.org/
Read more about:
Featured BlogsYou May Also Like