Trending
Opinion: How will Project 2025 impact game developers?
The Heritage Foundation's manifesto for the possible next administration could do great harm to many, including large portions of the game development community.

Featured Blog | This community-written post highlights the best of what the game industry has to offer. Read more like it on the Game Developer Blogs or learn how to Submit Your Own Blog Post
Implementation of a CheckPoints system to keep the progress of the player in any level of your game.

[Originally posted on http://santiandrade.github.io/Unity-Creating-a-checkpoints-system/]
Within the scope of a game, a checkpoint is only a position within the path of the player who, once achieved, will allow us to start from that position if we dead without having to redo all the previous progress.
In this tutorial we will create a system of checkpoints that can be applied at any level of our game quickly and easily. We started...
Creating the script 'CheckPoint.cs'
We will implement the script to be associated with the object that represents our checkpoint, which will build later, and will be responsible for controlling when our player goes through that checkpoint to save the progress of this.
We define public variable 'activated' that will indicate if the checkpoint is activated or not.
using UnityEngine;
public class CheckPoint : MonoBehaviour
{
// Indicate if the checkpoint is activated
public bool activated = false;
We also define the static variable 'CheckPointList' to store all the checkpoints that we have in our scene.
// List with all checkpoint objects in the scene
public static GameObject[] CheckPointsList;
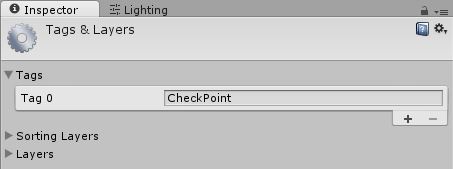
Inside the Start() function we initialize the static list with all the checkpoints that we find in the scene. To identify which objects are checkpoints we will use Unity tags and make all checkpoints assigned the tag 'CheckPoint'.
void Start()
{
// We search all the checkpoints in the current scene
CheckPointsList = GameObject.FindGameObjectsWithTag("CheckPoint");
}
Now we create the 'ActivateCheckPoint()' private function that will active the current checkpoint and disable the rest.
// Activate the checkpoint
private void ActivateCheckPoint()
{
// We deactive all checkpoints in the scene
foreach (GameObject cp in CheckPointsList)
{
cp.GetComponent().activated = false;
cp.GetComponent().SetBool("Active", false);
}
// We activate the current checkpoint
activated = true;
}
Once created this function we will use it whenever the player touch our checkpoint. We'll implement the 'OnTriggerEnter()' method to be executed each time the player (identified with the tag 'Player') enter in the trigger checkpoint.
void OnTriggerEnter(Collider other)
{
// If the player passes through the checkpoint, we activate it
if (other.tag == "Player")
{
ActivateCheckPoint();
}
}
So we only need to implement a static function that can be called from outside of the script, for example from our player controller script, and we return the position of the last checkpoint we have activated. To do this we will create the 'GetActiveCheckPointPosition()' function.
// Get position of the last activated checkpoint
public static Vector3 GetActiveCheckPointPosition()
{
// If player die without activate any checkpoint, we will return a default position
Vector3 result = new Vector3(0, 0, 0);
if (CheckPointsList != null)
{
foreach (GameObject cp in CheckPointsList)
{
// We search the activated checkpoint to get its position
if (cp.GetComponent().activated)
{
result = cp.transform.position;
break;
}
}
}
return result;
}
}
Creating the prefab 'CheckPoint'
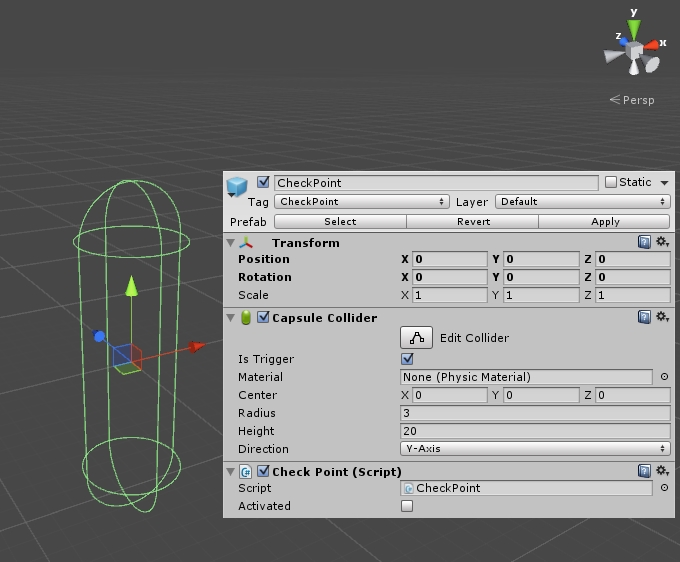
Now we'll create the checkpoint prefab. To do this we only need to create in our scene a simple empty object with the tag 'CheckPoint', add a Capsule Collider component (with the "Is Trigger" option enabled) and assigned our script 'CheckPoint.cs'.


We already have the checkpoint prefab ready to use.

Note: As an extra feature, we could create the game object 'CheckPoint' more complex than a simple empty object way. For example adding a visual element or even creating some animation to indicate when it has been activated or deactivated.
Using the checkpoints system
We only have to call to the static function 'CheckPoint.GetActiveCheckPointPosition()' to get the position of the checkpoint when we want to re-position the player.
This would be a good example to use: In 'OnCollisionEnter()' function of our player controller script, if we detect that an enemy touchs us then we go back to the last checkpoint activated position.
void OnCollisionEnter(Collision collision)
{
if (collision.gameObject.tag == "Enemy")
{
thisRigidbody.transform.position = CheckPoint.GetActiveCheckPointPosition();
}
}
Download project
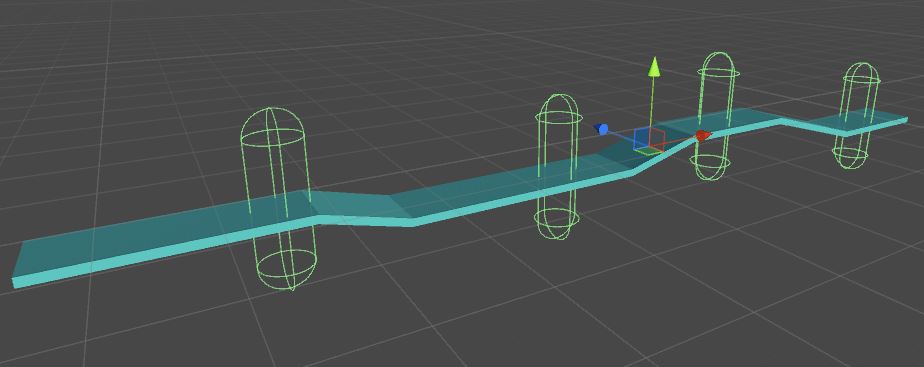
In my GitHub profile you'll find a Unity 5 project where I implement a basic example of this checkpoints system. You can download it!
Read more about:
Featured BlogsYou May Also Like