Trending
Opinion: How will Project 2025 impact game developers?
The Heritage Foundation's manifesto for the possible next administration could do great harm to many, including large portions of the game development community.

Featured Blog | This community-written post highlights the best of what the game industry has to offer. Read more like it on the Game Developer Blogs or learn how to Submit Your Own Blog Post
On-going series about building an alternative workflow for working with pixel art in Unity. This time I go over how I easily define and play 2D sprite animations in script.

You can find Part 1 of this series here, where I cover the surprisingly complicated world of importing pixel art assets into Unity, and offered up a script to make the process completely effortless.
Part 2: An Alternative Workflow for Creating and Playing Animations

Placing sprites frame by frame in an animation clip in Unity is tedious, finicky, and brittle. And then after you make an animation clip you still have to arrange them in mecanim, which auto-generates transition animations (for blended animations so useful for 3D), which you then have to manually remove. If it sounds only kind of annoying, I promise you I undersold it. I remember the good old days of Flixel where you could play an animation from a sprite sheet in just three lines of code

Enter RetroSpriteAnimator! A neat little component I cooked up that replicates Flixel's simplicity. And in truth, if you're going to make a tile-based 2D platformer in Unity, you're probably going to be using your tile editor as your game editor for the majority of development. You might as well go whole hog and just use Unity as a glorified file manager, and bypass all that mecanim nonsense. (Later in this series I'll share my code for a component friendly class based state machine that will completely replace mecanim). But anyway, you can start by grabbing RetroSpriteAnimator from GitHub.
So how to get something as simple as the above Flixel snippet? First, add the RetroSpriteAnimator component to the same game object you want to animate. Then, just call the CreateSprite method.

The first parameter is just the asset path to the sprite-sheet (remember, in order to load assets via code, Unity requires that all assets are placed within the /Assets/Resources directory, so the full asset path in this examples is ".../Assets/Resources/Sprites/16/frog.png"). The optional second parameter is Unity layer you want the asset to be associated with.
So now Unity has a reference to this sprite sheet:

Next we need to define an animation to play. We can do this using the AddAnimation method.

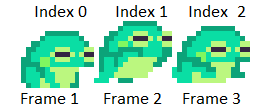
In the first parameter, name the animation something. Probably something descriptive and unique. The second parameter defines which animations to use. So with an array of 0, 1, 1, 2, I'm having the game play the first frame, the second frame twice, and then the last frame once (at a frame rate of 7 frames per second, which is what I set agentFrameRate to by the way).

The last two parameters choose whether the animation loops (we're making a walking animation, so yes), and if the animation should be flipped horizontally (in frog.png the frog is facing right, but we're making an animation that's walking left, so that's a yes). Now we just play the animation.

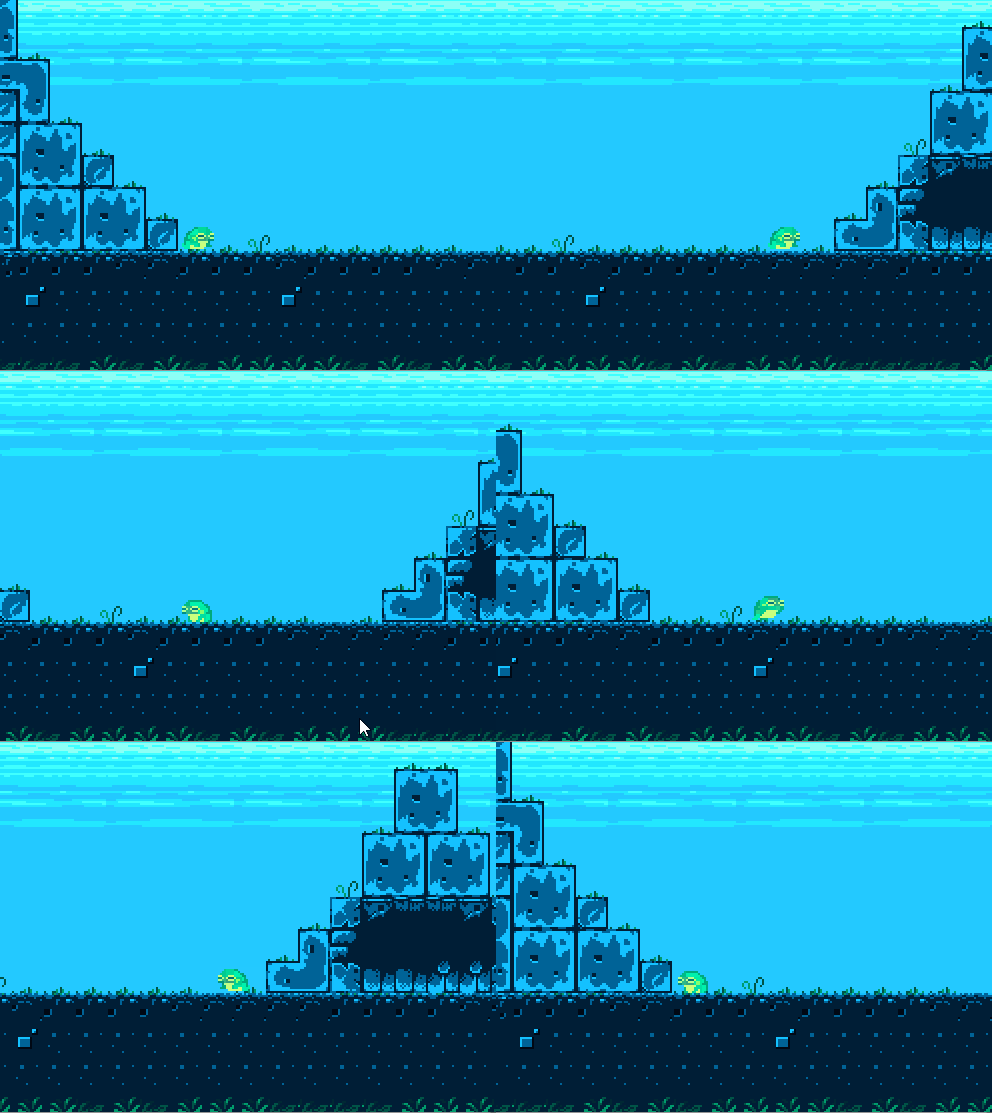
With any luck we'll end up with something like this:

Again, feel free to grab RetroSpriteAnimator on GitHub, and let me know what you think!
Shoutout to Adam Saltsman (@ADAMATOMIC), whose open-source Flixel more than inspired RetroSpriteAnimator, and to Luis Zuno (@ansimuz) for his adorably rad Creative Commons art.
Stay tuned! Next up in this series I’ll cover how I (mostly) circumvented Unity's physics system to handle collision and player movement to achieve that amazing retro feel.
Read more about:
Featured BlogsYou May Also Like