Trending
Opinion: How will Project 2025 impact game developers?
The Heritage Foundation's manifesto for the possible next administration could do great harm to many, including large portions of the game development community.
Week 3 was focused on getting textures into the render engine, making a camera so the user can move around the scene, and the creation of a new mesh class that takes advantage of the VBO and EBO classes.

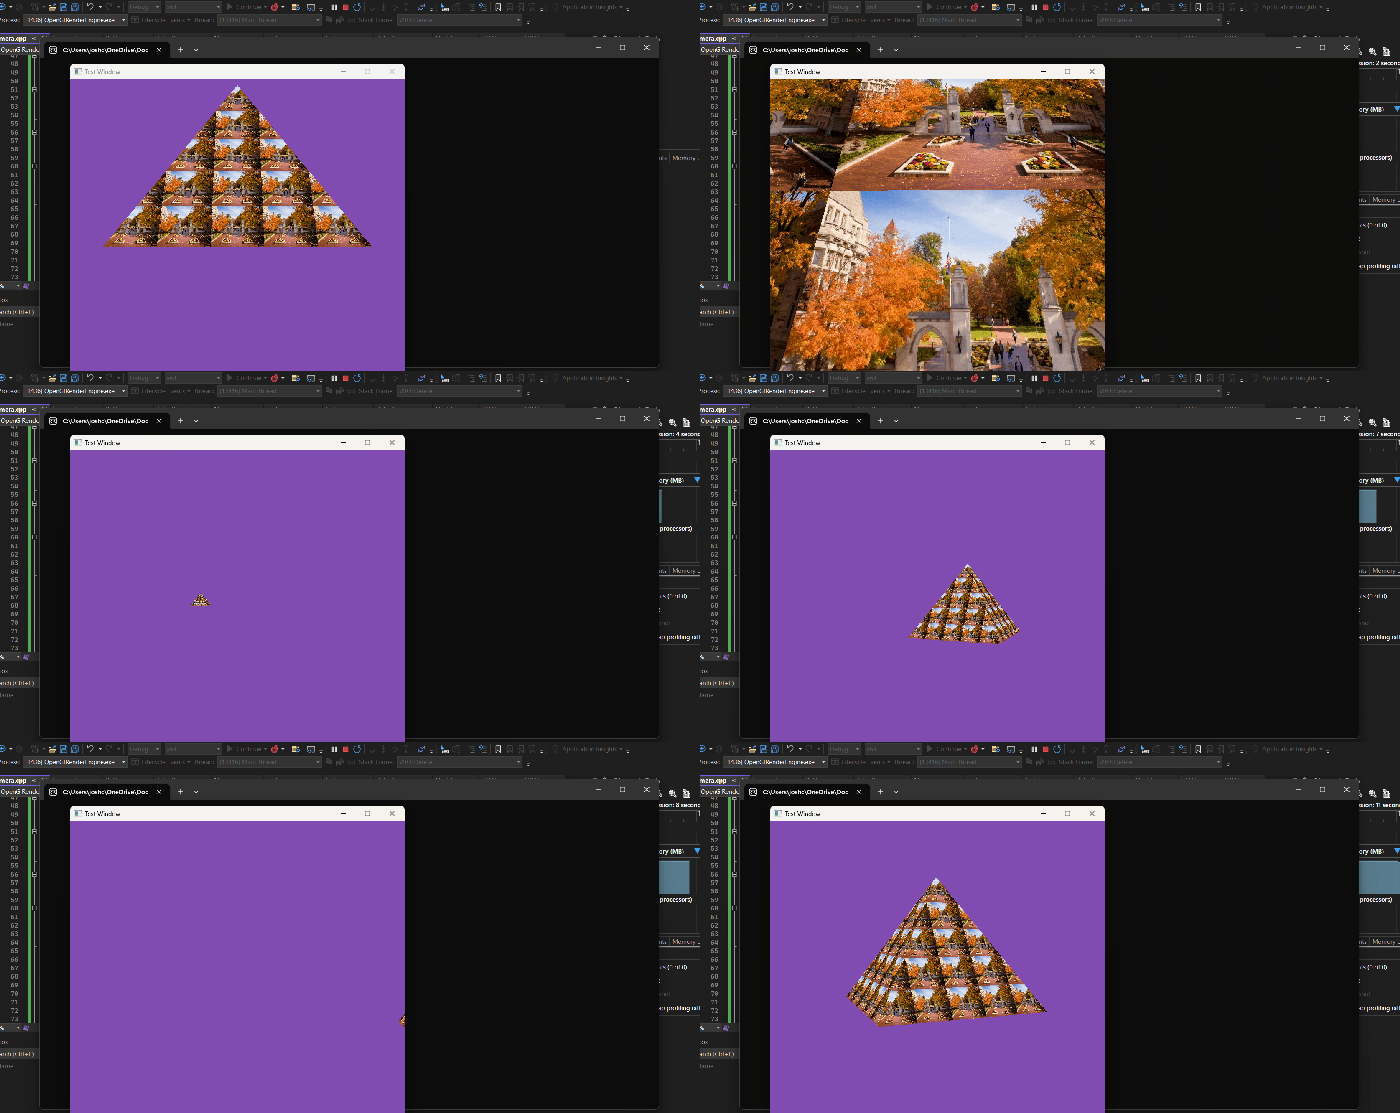
The first thing implemented for this week were textures. The main things I noticed during the implementation of textures using OpenGL is that the only real difference between .jpg and .png to OpenGL is the extra channel that .png images have for alpha. There may or may not be extra logic going on in the background to deal with the different compression types, but I didn’t delve further into what the different file formats might entail.
The first step in implementation meant I had to make changes to both the vertex and fragment shaders. We are not only passing a color through the vertex shader we are now passing through a texture coordinate. You also have to make a reference to the texture you want to pass to the fragment shader. You can do this by using uniforms.
If you make a uniform then you are able to reference it from the CPU when you have activated your shader program.

To reference the uniform you can get reference to the uniform you want, so if your uniform was “importantNumber” you could write, “GLuint texUni = glGetUniformLocation(shader.ID, "importantNumber”);”. You then need to activate your shader program and glUniform1i to update your uniform with the value you want.

In terms of reading images I used the stbi library which has a different way of reading image files than OpenGl. OpenGL reads from the top left to the bottom right, while stbi reads from the bottom right to the top left. In order to remedy this you have to ask stbi to vertically flip the information it is reading on load.

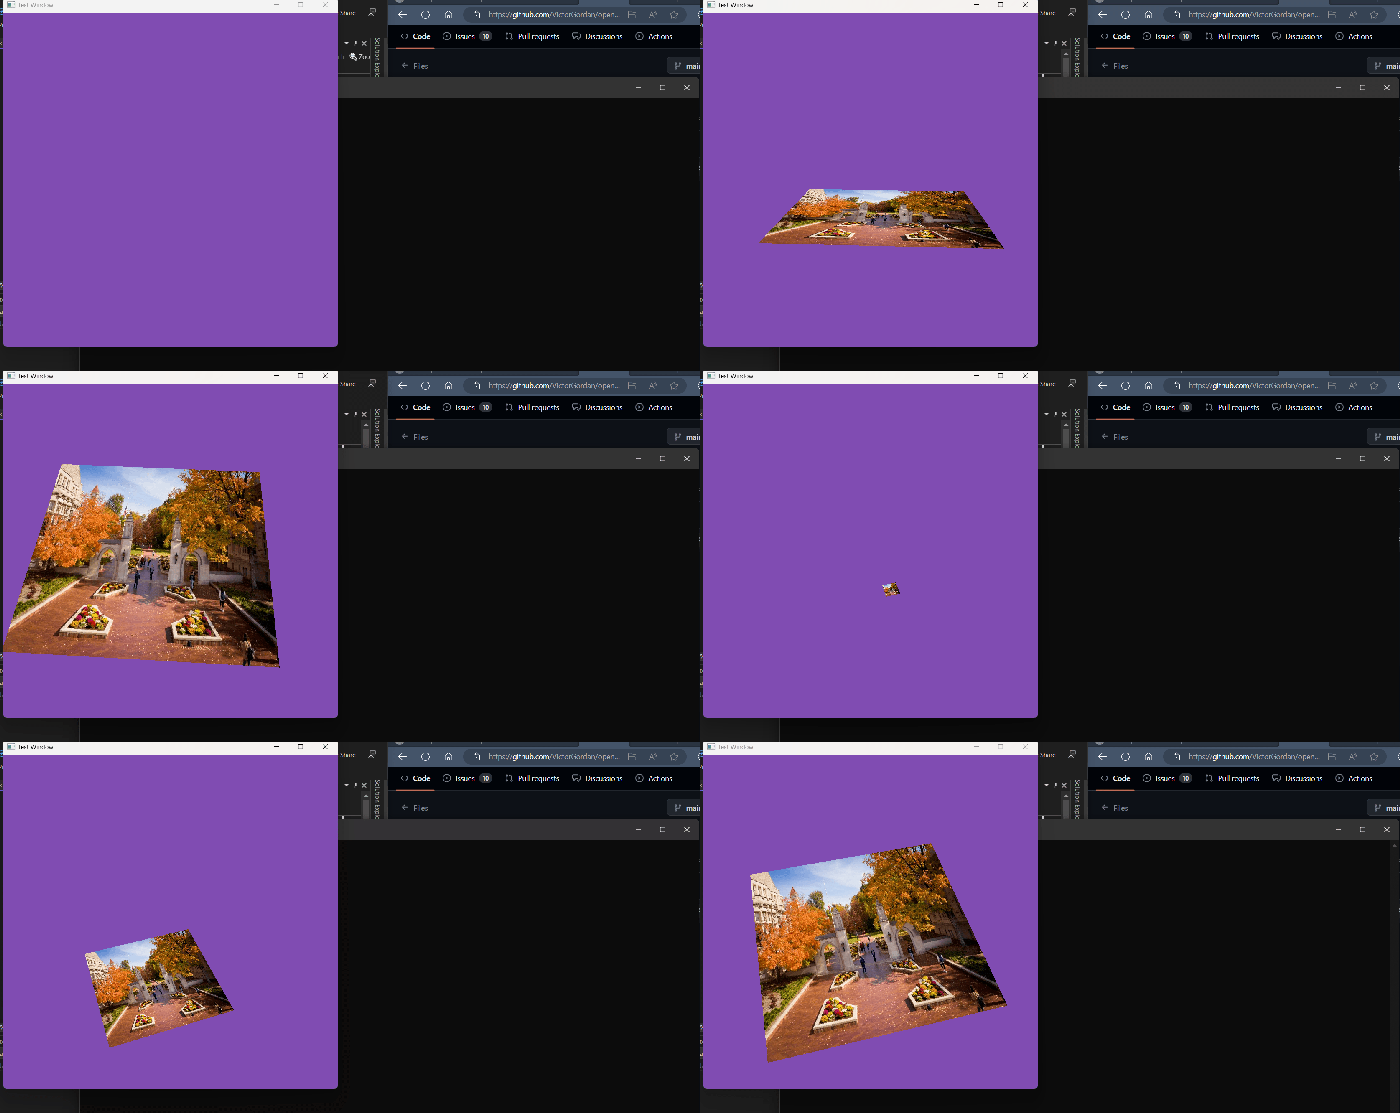
The first texture I used when implementation was finished was a picture of Sample Gates at Indiana University Bloomington which I put on a plane.

Creating a camera:
The Camera is just a generic class for taking in user input to move around the scene, since stuff won’t look very 3D if you can’t move around to see the depth.
Other than taking in inputs the other important function for the camera is updateMatrix. The matrix needs to be updated so that the view information can be referenced for all the textures.


Implementing object loading:
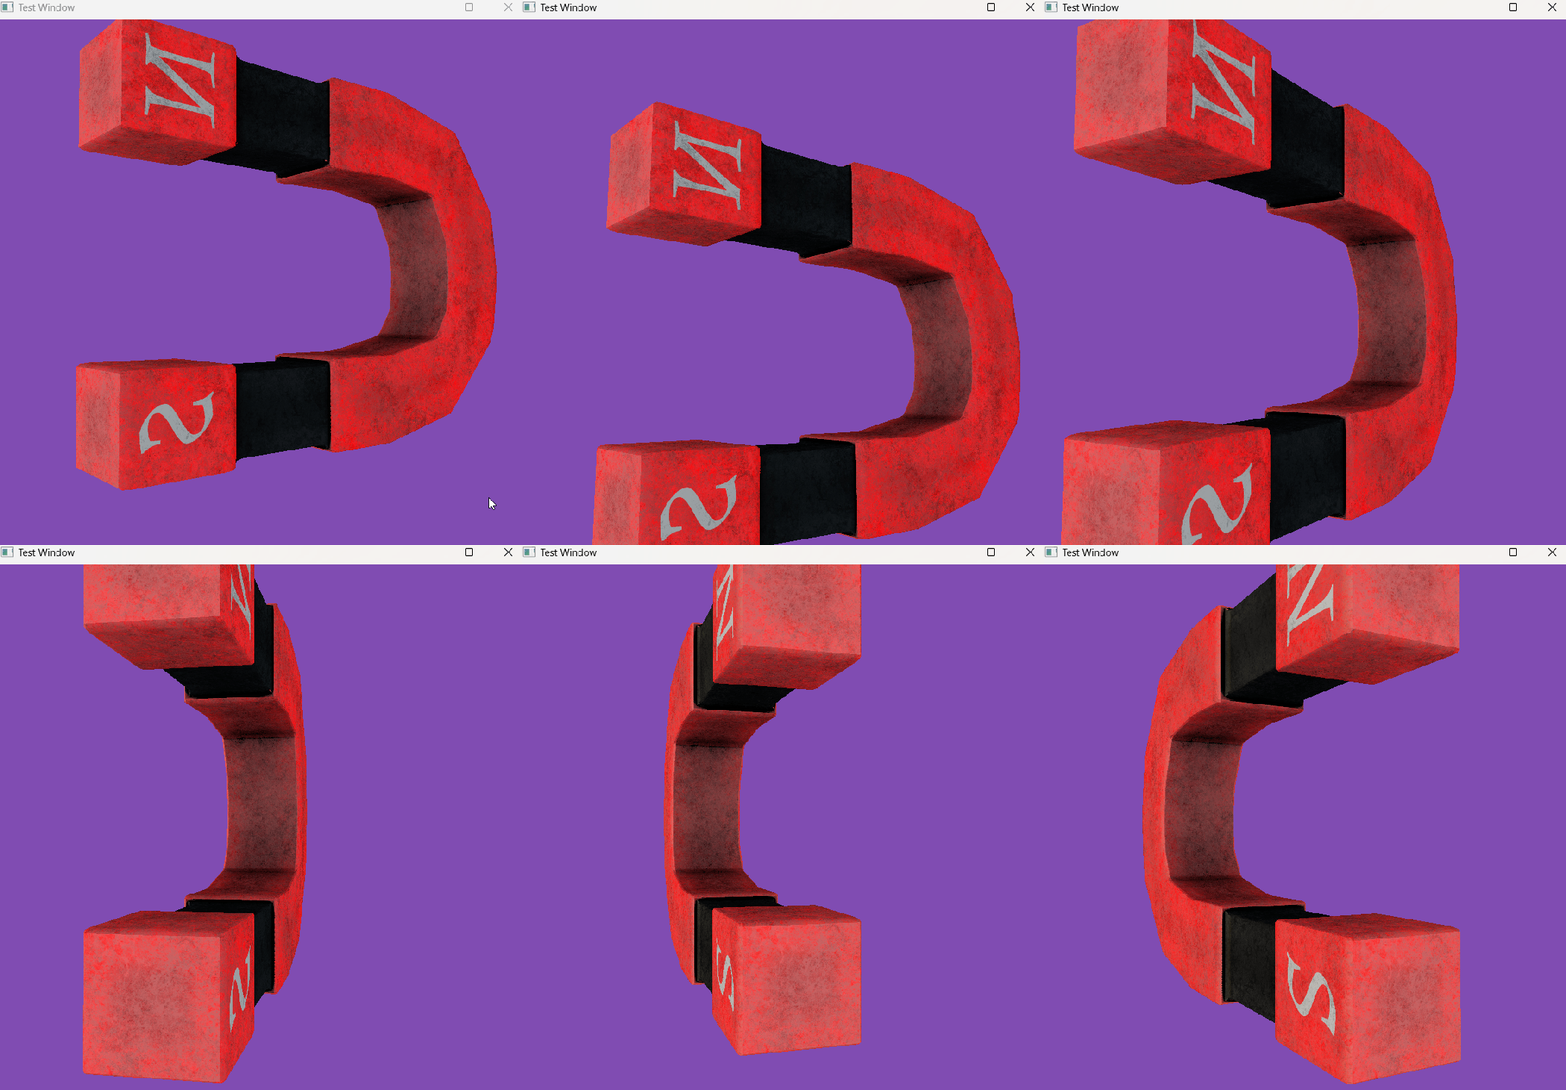
I also started implementing object loading, since it was covered in the overview I was watching for implementation. Although I wish I had just implemented an object loading library that was more robust. The implementation that I worked on completing used a json library to read through the .gltf model. There are a lot of .gltf models, but in order for the model loading system to work you need the modeler to have created a .bin file, Textures folder, and a .scene file. Almost all .gltf models have a .scene file, most have a Textures folder, but there are very few that have a .bin file. This made it pretty hard to find models to put in the scene. The only model I ever ended up putting into the scene through this method was a magnet created by SolusGod and posted on TurboSquid.
If you are interested in creating a model loader to load .gltf models please look at this video since it is where I learned the implementation and he explains it better than I ever could.
I was pretty happy when I got the implementation working, but long term it would have been awesome to have way more models in the scene.

Read more about:
BlogsYou May Also Like