Trending
Opinion: How will Project 2025 impact game developers?
The Heritage Foundation's manifesto for the possible next administration could do great harm to many, including large portions of the game development community.

Featured Blog | This community-written post highlights the best of what the game industry has to offer. Read more like it on the Game Developer Blogs or learn how to Submit Your Own Blog Post
How Spotkin (www.spotkin.com) is monitoring Google App Engine costs for the Spotkin Workshop, a backend that provides the workshop capabilities outside of Steam for its game Contraption Maker (www.contraptionmaker.com).

To enable Contraption Maker to run without requiring Steam, Spotkin developed a server using Google App Engine. This allowed us to build a scalable backend that handles authentication, workshop uploads, and build distributions.
Here is what the workshop looks like in the game. It allows for logged-in users to upload and download levels with a screenshot and the level, just like in the Steam Workshop.

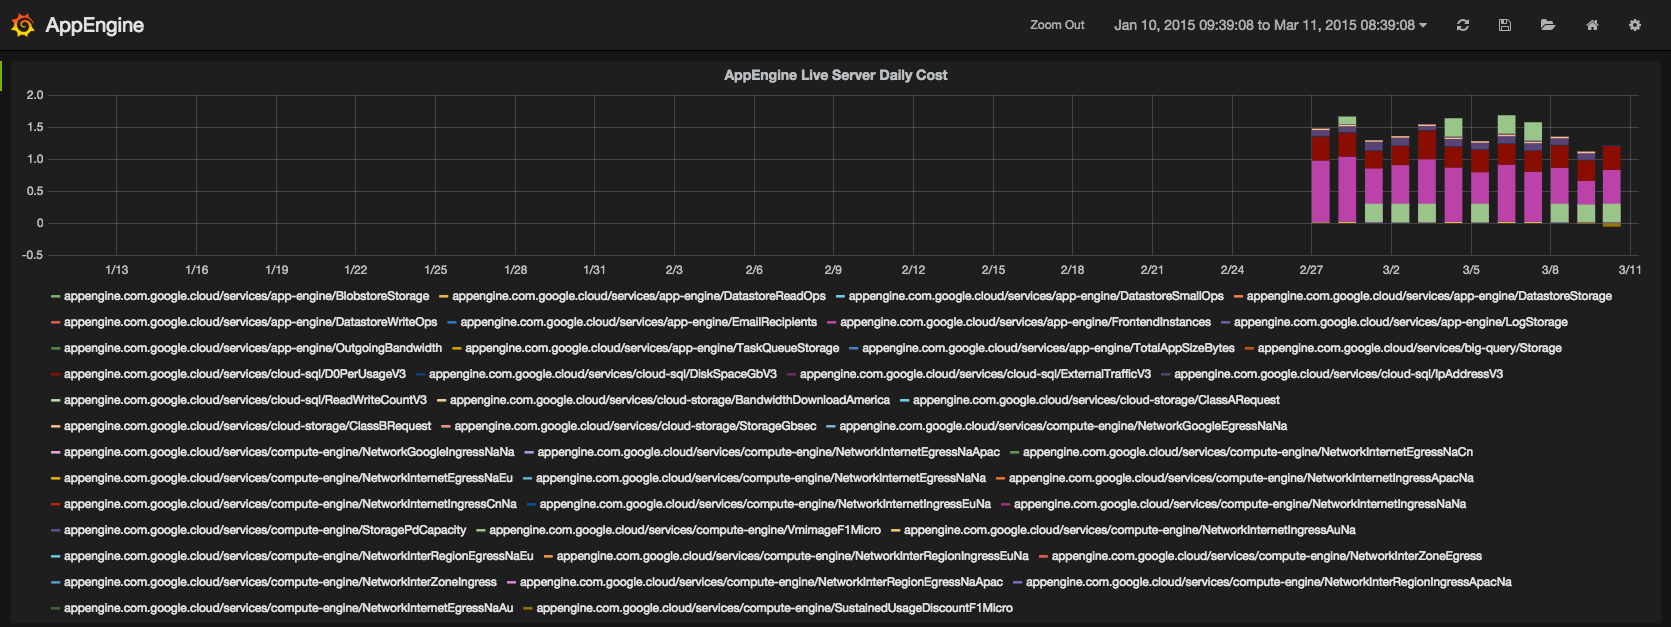
As the game user base grows, we want to track our costs and see where we should be looking for optimizations as we use the various services that App Engine provides. Using a Google managed virtual machine, this is actually pretty easy. I will describe all the steps in detail, but here is the end result: a chart showing the cost of each service in App Engine that we use on a daily basis. As you can see in the graph, right now it is a little under two dollars a day.
The first step is to set up a Google Storage Bucket for the billing data. You do this in the Google Cloud Console. I called our bucket "sws-billing".

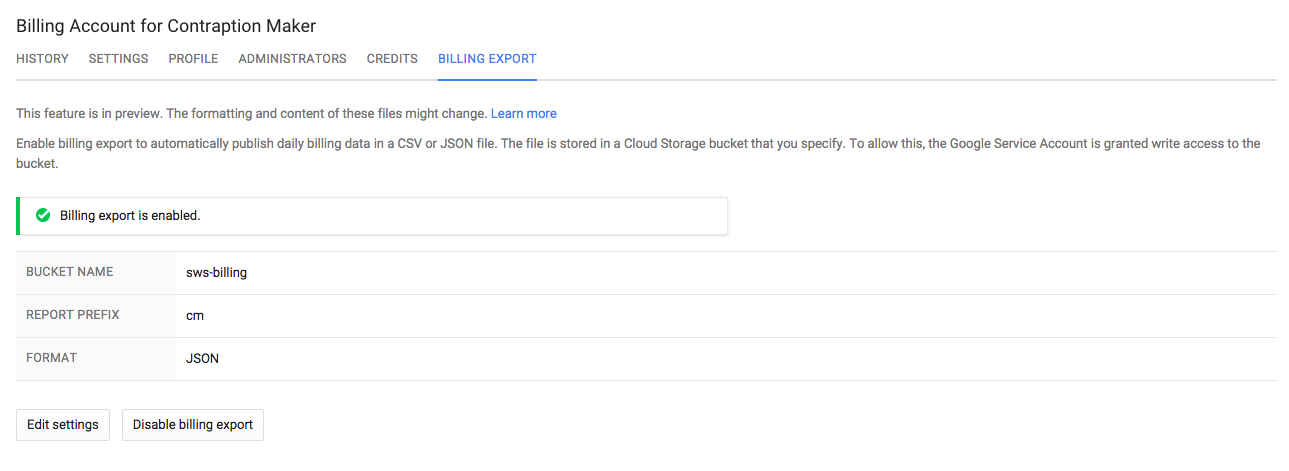
Now go into the Billing settings for the billing account you want to monitor. Click the export tab and enable export of the billing data, selecting the bucket you previously created. I also selected to export the data as JSON to make it easy to parse.
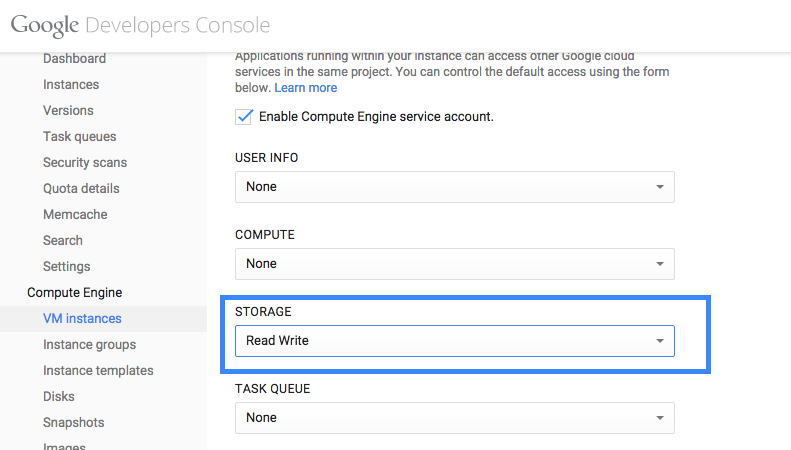
Now for the final infrastructure step. Create a Google VM Instance. I chose Ubuntu as the operating system and gave it a static IP. The most important step for me was to make sure to enable both read and write access to Google Storage. My plan was to move each processed JSON file into a "processed" directory to make sure I never processed the same file more than once. Originally I created the VM with read-only access to Google Storage. You cannot modify these permissions once you have created the VM. I had to delete that VM, preserve the disk, and then create a new VM using the same disk. There are certainly ways to avoid needing write access to the bucket - you could keep track of the JSON files you have processed in a non-cloud storage directory on the VM, for example.
I chose InfluxDB + Grafana as the way to store and graph the data. There are many other options you might want to consider (RRD and Graphite are two others I looked at). I won't cover the installation of these tools, but it was very straightforward. Just follow the instructions at the corresponding sites: InfluxDB:
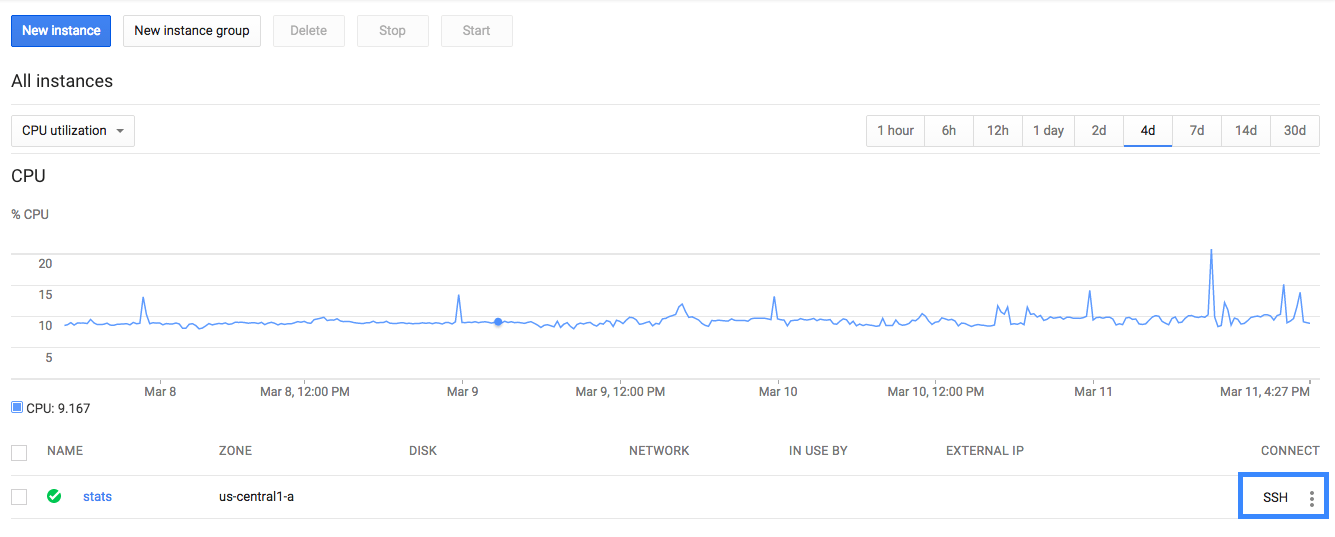
Just click the ssh button and the console launches:
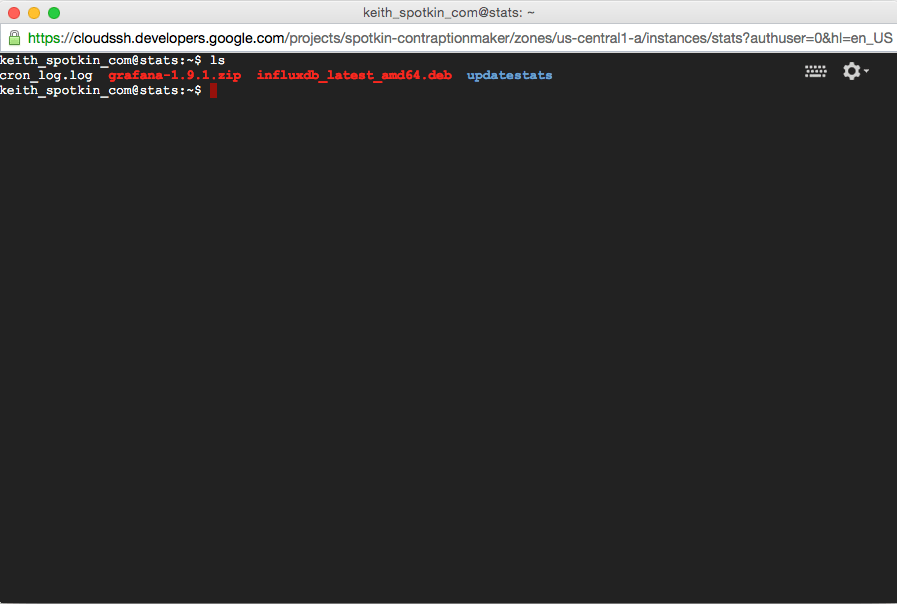
What is really nice about using a Google Managed VM is that you automatically have access to the Google services you need (in this case, Google storage). So right away, I can list the billing reports in the bucket with this simple command:
gsutil ls gs://sws-billing
And copying those files to a local directory is simply this command:
gsutil -m cp gs://sws-billing/*.json ./sws-billing
Now I had all the pieces necessary to start graphing the billing data. We use Rake / Ruby for a lot of our build processes, so I decided to just write a simple Rake task that could run every night in a cron job to parse the billing data. The steps would be:
Remove the local copies of the billing files
Copy any billing files in sws-billing to a local directory
Parse the billing file and send data points to influxdb
Move the json files in sws-billing to sws-billing/processed
Here is the complete Rakefile
require 'json'
require 'influxdb'
require 'time'
task :default => :list_targets
task :list_targets do
puts "Listing all rake targets:"
system("rake -T")
end
desc "Update stats"
task :updatestats do
sh "rm -rf sws-billing"
sh "mkdir sws-billing"
sh "gsutil -m cp gs://sws-billing/*.json ./sws-billing"
#iterate over files in directory
Dir.foreach('./sws-billing') do |item|
next if item == '.' or item == '..'
puts "Found #{item}"
file = File.read("./sws-billing/#{item}")
data = JSON.parse(file)
username = 'root'
password = 'XXXXXXX'
database = 'spotkin'
time_precision = 's'
influxdb = InfluxDB::Client.new database, :username => username, :password => password, :time_precision => t
ime_precision
data.each do |child|
lineitem=child['lineItemId']
time=Time.parse(child['endTime'])
project=child['projectNumber']
cost = child['cost']['amount']
data = {
:lineitem => lineitem,
:project => project,
:value => cost,
:time => time.to_i
}
influxdb.write_point("appengine", data)
end
# Move it to processed so we don't process it again
sh "gsutil mv gs://sws-billing/#{item} gs://sws-billing/processed/#{item}"
end
end
And here is the crontab entry
29 22 * * * keith_spotkin_com /bin/bash -l -c 'cd /home/keith_spotkin_com/updatestats && RAILS_ENV=produc
tion rake updatestats > /home/keith_spotkin_com/updatestats/cron_log.log 2>&1'
It took me a few tries to get the graph to look right. I used the project id in the appengine billing data to separate out the cost on a project basis. We have a separate project for our development server, for example. Here are the configuration settings I used.


We have found Google App Engine to be an incredible resource for our server infrastructure. I hope to talk more about it in a future blog post. In the meantime, if you are thinking of using Google App Engine for your project or already using it, I hope you find this blog post useful!
Read more about:
Featured BlogsYou May Also Like